
First off, ashtray. Its taken three attempts to get a good finish on the top edges. First time the paper covering protecting the workmate wafted up up rested on it, the second time I rested it too close to the green scouring pad. So, wet and dried yet again. I'm waiting to do the final coat till I can find the missing dash top vent.
I should explain that I'm currently shed-less waiting delivery sometime in August, so stuff is spread everywhere and some things have become invisible. However, I have seen things I've not seen in years.

The missing vent top is annoying since I saw one in the conservatory before the grand emptying of the shed and I,m sure its not the one I have "found". Time will tell when the shed arrives and its time to put all the stuff back in.
I have also sprayed the air intakes a lovely gloss black and the ashtray lid.
The glovebox armrest has had a clean and polish as has the vynyl dash top......again. Nothing seems to get it matt black and clean looking despite trying all manner household products, acetone/cellulose thinners, Armorall "really works" restorer and good ole WD40.
I did have misgivings about the dash top I removed years ago. The hardboard backing was broken in 2 places and the vynyl was coming unstuck at the vent holes. So I pondered long and hard , bit the bullet and decided to remove the vynyl from the tatty hardboard, buy some new hardboard and re-glue.
Judicious use of the heat gun, masking tape and clamps ( wifeys clothes pegs) and job done ! Here is the vynyl halfway glued on to the new hardboard. The old board was used as an accurate template. I did watch on you-tube some geezer doing same to his TR 6, which was helpful. Contact adhesive is very unforgiving so I did it with some trepidation. The secret is to get it aligned well and start from the middle, even though I started from the RH vent holes it all went well and even the snurpy edges of the vent hole slots in the vynyl stuck down well. I did it in 5 sections.


 Not perfect, but much better and its flat and rigid. Luckily I had the wisdom to test fit the hardboard onto the dash before glueing.


Whilst waiting for the glue to be tacky I set about cleaning the rear bumper, bought on E-bay about 11 years ago from some bloke down Wolverhampton way. Again these are not perfect, slight pitting all over but they will do till the car is finished. Much scrubbing with wire wool, Brasso and Peek autosol chrome cleaner did their bit but alas not enough to make it look new again.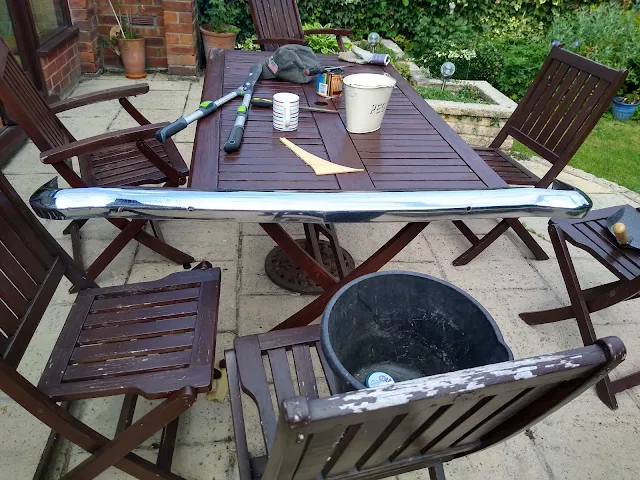


 The next big thing is the WINDSCREEN GLASS !!!! eeeeekkkkk!!! next month will see me buy the rubber surround, retainer and some headlamp rubbers.


All with the aim of fitting the dash, console and electrics. But that must wait for the shed to be up and functioning.
Not yet completed is the drivers side hinge/door alignment, glass fitting and locks. Also the brakes need bleeding as well as the inner wing splash plate to fit and underseal.
The brake hoses still remain an enigma with no word from MGOC other that the standard template of Covid times blah blah blah. I will not use them in future, especially since I found during the tidy up/ re arranging the perfect Automotive porn, a Moss full catalogue giving BL part numbers. A must for toilet reading. Just to prove.................I do have a brain...............usually ! More soon folks.

P.S some good YouTube sites to see for restoration -:
https://www.youtube.com/c/ChurchHouseClassicsLimited Very Funny with Range Rovers
https://www.youtube.com/user/mgbvideosdotcom Very good.
https://www.youtube.com/channel/UC8MBWMaGHLbGwDrrzbddevA Love this man even though its all Triumphs
https://www.youtube.com/watch?v=bRs-4AXb9_U My Favourite. Lotus, R Rover and Jag. Classy production. Great Chap.