Monday, August 22, 2022

Watching paint dry

 So, Tony the auto electrician came. A day early as it happens, I was just cutting the grass and he happened to be near bye so he thought its worth a visit. Stayed about an hour and got loads sorted. Firstly the ignition relay was no good, he fitted a spare he had and bingo a spark, of sorts. He thought it was weak so found the HT lead was not connected correctly at each end ( my doing, years ago). Advised me to get a new one. 

He didn't like the fuse box spade connectors, ditto. Or the fuse box.

Since he had just called in to recconoitre the job he had make remarkable progress in just 45 minutes or so.

As he was leaving I commented that the sidelights we on permantently. Another 45 mins and lots of head scratching he found the green wire was feeding the fusebox and somehow making the bottom two fuse holders connected.  Yes, deffo need a new fusebox.

I can't say at this point that this was my fault. The car has always had a parasitic drain, never started from the battery, only jump leads. But now its cured. This took another 40 mins at least. 

He even called back the following day to present me with a new HT lead and fitted it. Also to give advise on next steps, to call him when all new bits are fitted before starting the engine, what a guy !

So now it has ignition, dash lights, working indicators, hazards, and high/ low beams and good spark.

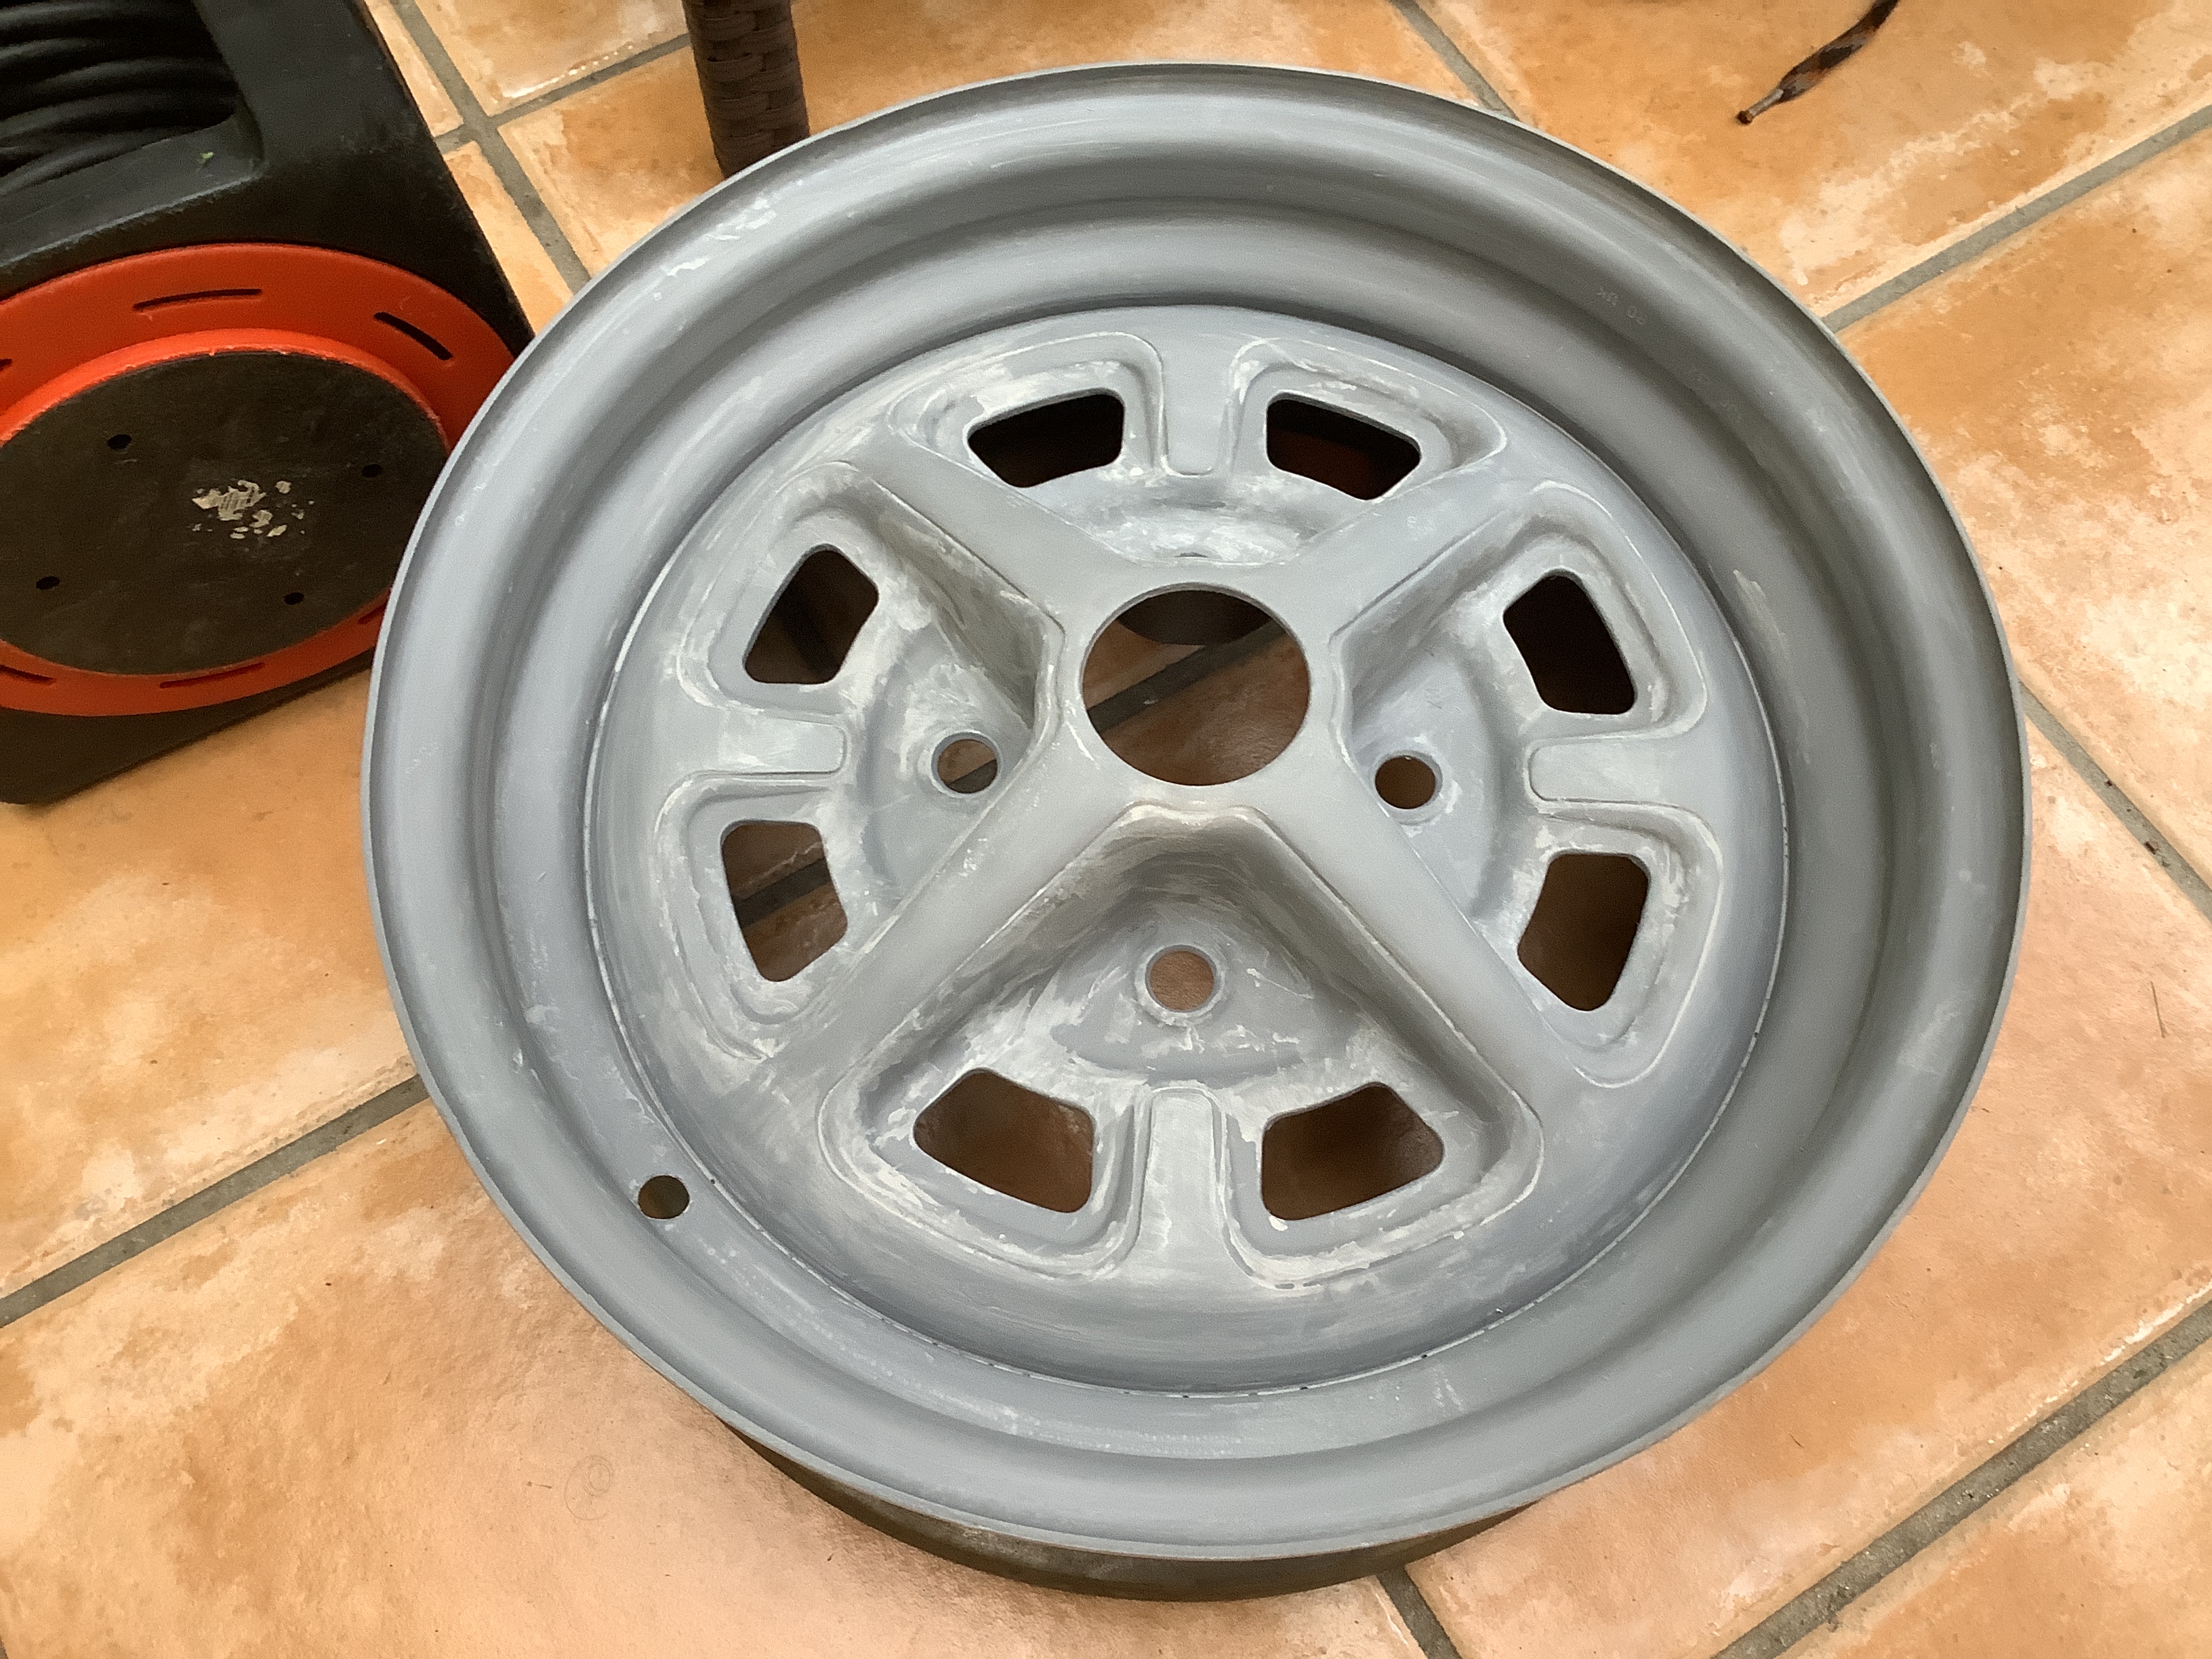
That soiree a day early made the wheel refurb a day late and time is getting very tight. I need the wheels with the correct colour on before I depart for my holibobs so it can cure a while.

Firstly though was the small matter of my retirement and wifeys birthday. It all went well so this week I set to sanding the wheels with 400 grit to get the silver/white/ protective coating smooth.

I also wire brushed the edges and inner part of the wheels as I had the tyres removed some days earlier.

Cor blimey, what a faff. They were in a right state. One was very rusty indeed.

I'm obsessed with getting the edges near the tyre and very outer rim looking good and smooth.

I used a good smooth file and the scary steel wire wheel in scary bosch grinder.

Two coats of primer and job done for today. I was lucky the weather held out with no rain, as the forcast was for rain all day. That would have set me back and scuppered everything.

Just managed to get all five wheels in primer and wet sanded one with 1500 grit before the staedy rain set in.

Just about done. Needs another quick smooth over tomorrow x4, then on to the final silver .


More after holibobs hopefully with a set of new boots and looking good.


Monday, August 15, 2022

Much binding in the marsh

 I reviewed the seat webbing after I completed the 2nd seat frame. 

Not happy that it would be up to the job.

I took the old seat bases and backs to my upholsterer. Nice chap and was willing to replace the orange deckchair Nylon with black vynyl and 2" pleats in the centre.

I did first enquire at a local automotive upholsterer with good reviews online. However, the female on the other end of the line did not seem keen or helpful, topping off with " well the earliest I can start them is after christmas". WTF.

Anyways, another 2 mts of vynly sent directly to the upholsterer and job done, really friendly guy and gave me some wadding should the foams be a little reduced. 

He also gave me 6 mtrs of polyester webbing used on sofa backs. Game on, a new set of straps sewn up easily on the ancient Singer.

No. Not at all. They were flimsy, taut as a drum and that was their downfall. I didn't think they would be up to the job, especially the shock loading. The last thing I wanted was to have to remove the seat frames again after the car is done.

So I ordered some 2" wide nylon webbing ala seatbelt type stuff but not as wide.

What a performance that turned out to be. Getting the correct tension was a nightmare.

What I should have done is fix the inner frame and clips all round with one end sewn up, stretched it ( very little stretch on these) clamped up then unassemble and sew the loose end.

I only discovered this technique on the last two cross straps. Before that was a series of stitching, fitting, not being tight enough or too loose, cutting four rows of stitching , retightening and restitching.


Bugger,bugger and more bugger. Iv'e just got a new phone and somehow not able to show the correct images.
I did intend to show the staps on both seat frames looking good and taut.

So here are some images of the frames underway. The drivers back frame was by far the worse but was soon fettled
with the brass wire wheel in trusty Bosch drill, primered and sprayed gloss black, twice.

Lots happening though. 
The seats will be complete by mid/ late Aug.
The Auto Electrician visits this Friday ( says one hours work should be more than enough)
Wheels away having tyres removed then paint nimbus grey before hols, tyres booked for fitting 10 Sept after hols.
Found boot lock AND KEY ! Cleaned and ready to fit.
Need to paint front and rear brake drums and mask tyres for black infills.

So no posts for at least 3 weeks but hopefully then more exciting news. 

Oh............ and I retire in a couple of days. Yay. TFFT.


Seat struggles and material wealth .....or not !

 Well, after last post I was undecided as to what to do.

The wiring still needs resolving. The wheels need coats of Nimbus grey + lacquer the new Avon tyres.

Guess what, I did neither of what I mentioned. I set too tackling the passenger seat. 

Here's the before shot/s.


Loverley......Deckchair Orange mixed with grinding spark holes,  12 year old spider webs and gawd knows what else.

Easy enough to dis-assemble though. Trim clips prized off and cover gingerly removed. 

The foam was not in bad nick. One tear down one edge and thats it. A bit on the thin/ soft side, so I put them to one side whilst I tackled the seat base frame.

The diaphragm frame came out with pliers, the webbing looking a little saggy and worn in parts. Again that was put to one side whilst I wire brushed the base frame. 


The brass wheel in trusty old Bosch drill did the trick in about 10 minutes. A quick coat in Kurust then nice grey primer. It looked good so I let it dry and tackled the webbing frame.

The "webs" were frayed at some ends, a little stretched but otherwise good. I selected the ones the a frayed end and undid the stitching. The intention was to stretch them by - how much ?  1", 2", 3". In the end I decided on 30 mm.......................guffaw.

I decided to do it the old fashioned way, as I didn't think the ma in laws ancient Singer sewing machine would cope.

Tough going pushing the sailmakers needle through two layers of rubber twice. But finished at last and much more taut.


Here it is inserted in the newly gloss black frame.