Tuesday, June 18, 2024

The pressures on full tilt

 So a side project has always been to have the front and side driveway re-tarmac'd as well as making the front of the drive wider and a large flat garage base to the rear of the house. Since day one the MG has sat halfway down the drive behind the large driveway gates.

Well after 30 odd years the time has come, and boy has it. The lovely contractor paid us a visit to finalise details then came the bombshell, I can start it next week !!!   it'll take just short of a week.......nearest other start date is late August.   

I bit the bullet and said " next week please". This sent wifey into a flat spin of panic mode full Tilt.

Plants to uproot, stumps to level, boxes to move, storage Keeter to empty and move, find new temporary places for some plants, order new fencing and paint, repair current fencing on driveway.

''Twas only hard labour for me but for wifey It meant making decisions, something she avoids at all costs.

Whilst I got on with the labour part of moving stuff off the drive and front, about 8 pots and 4 storage boxes ( full of all my tools and misc MG stuff ) she stood in the front garden wondering and prevaricating.

I did dig out 2 large plants then left her to her wondering.

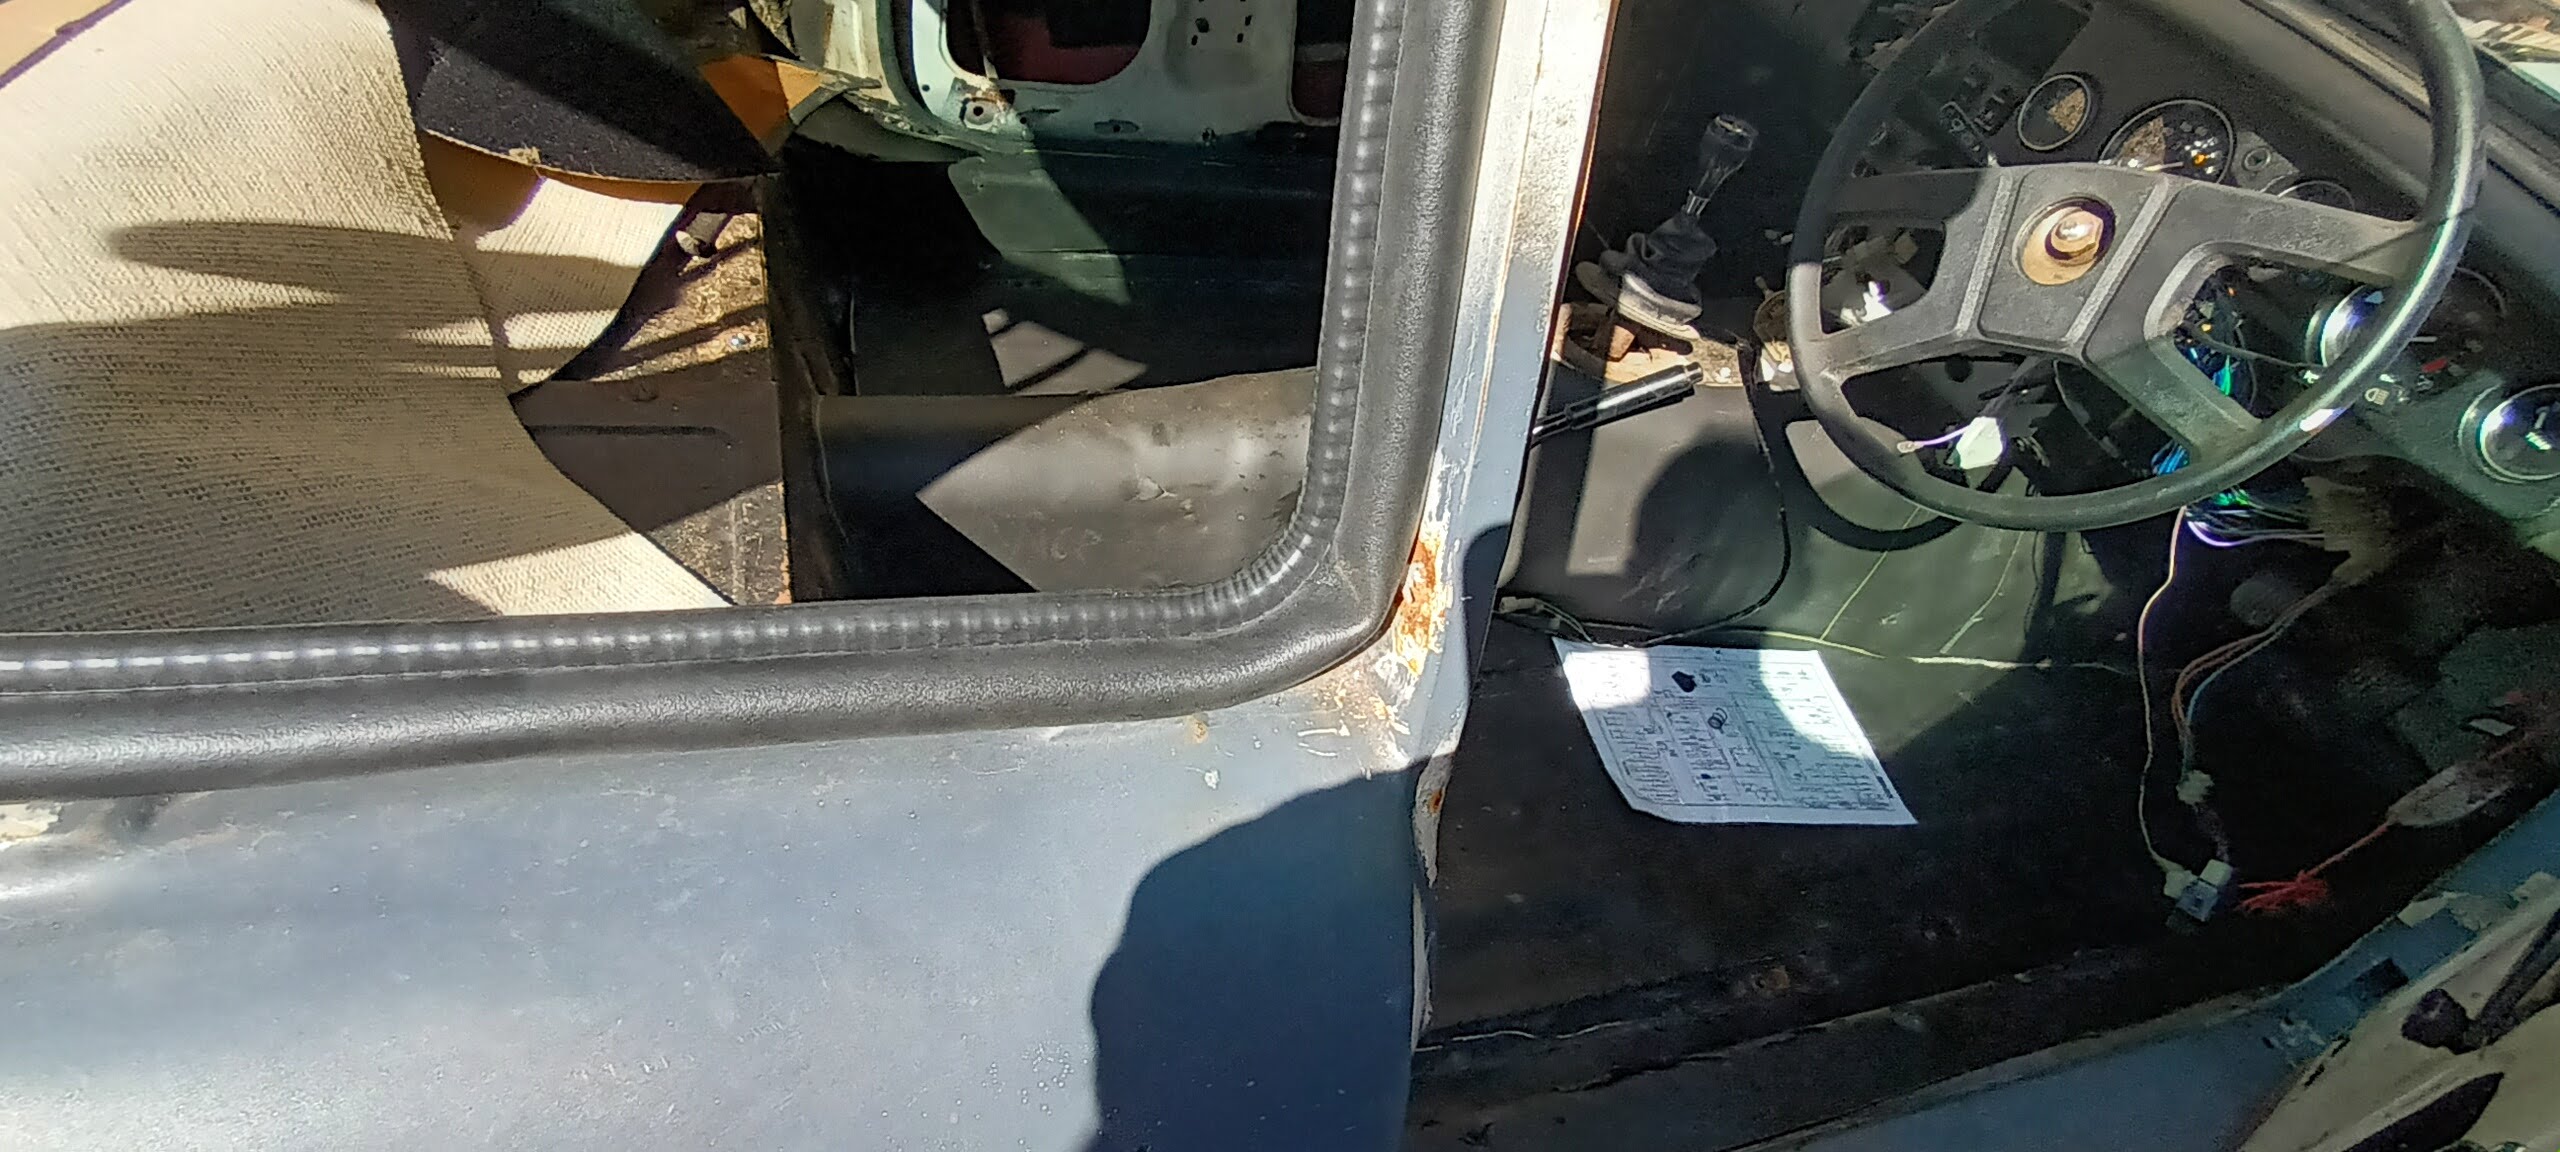
The big thing for me was I had to get the MG looking like it was somewhat finished and would start, stop and be mostly legal and be moved each day off the driveway and onto the road.

Here is a view of my containers that's been my life for years and years.


Below is the very old garage base area that was going to be done " soon", 30 odd years ago.


Taking things in order I first had to mount front and rear number plates. I started the front last month before we decided on a contractor, but I left them loosely attached and poorly aligned. I left them like that. I needed to make a bracket to attach behind the bumper but in front of the " L" mounting brackets.

I decided to make one from the rear bumper too. The trial one I made a few weeks ago from a Fiat Panda sill section was too weak and flimsy.

I did find a large sheet of powder coated Aluminium 3mm thick left over from the new TV purchase so I utilised it, waste not want not, up cycling and all that.


Here it is marked out.


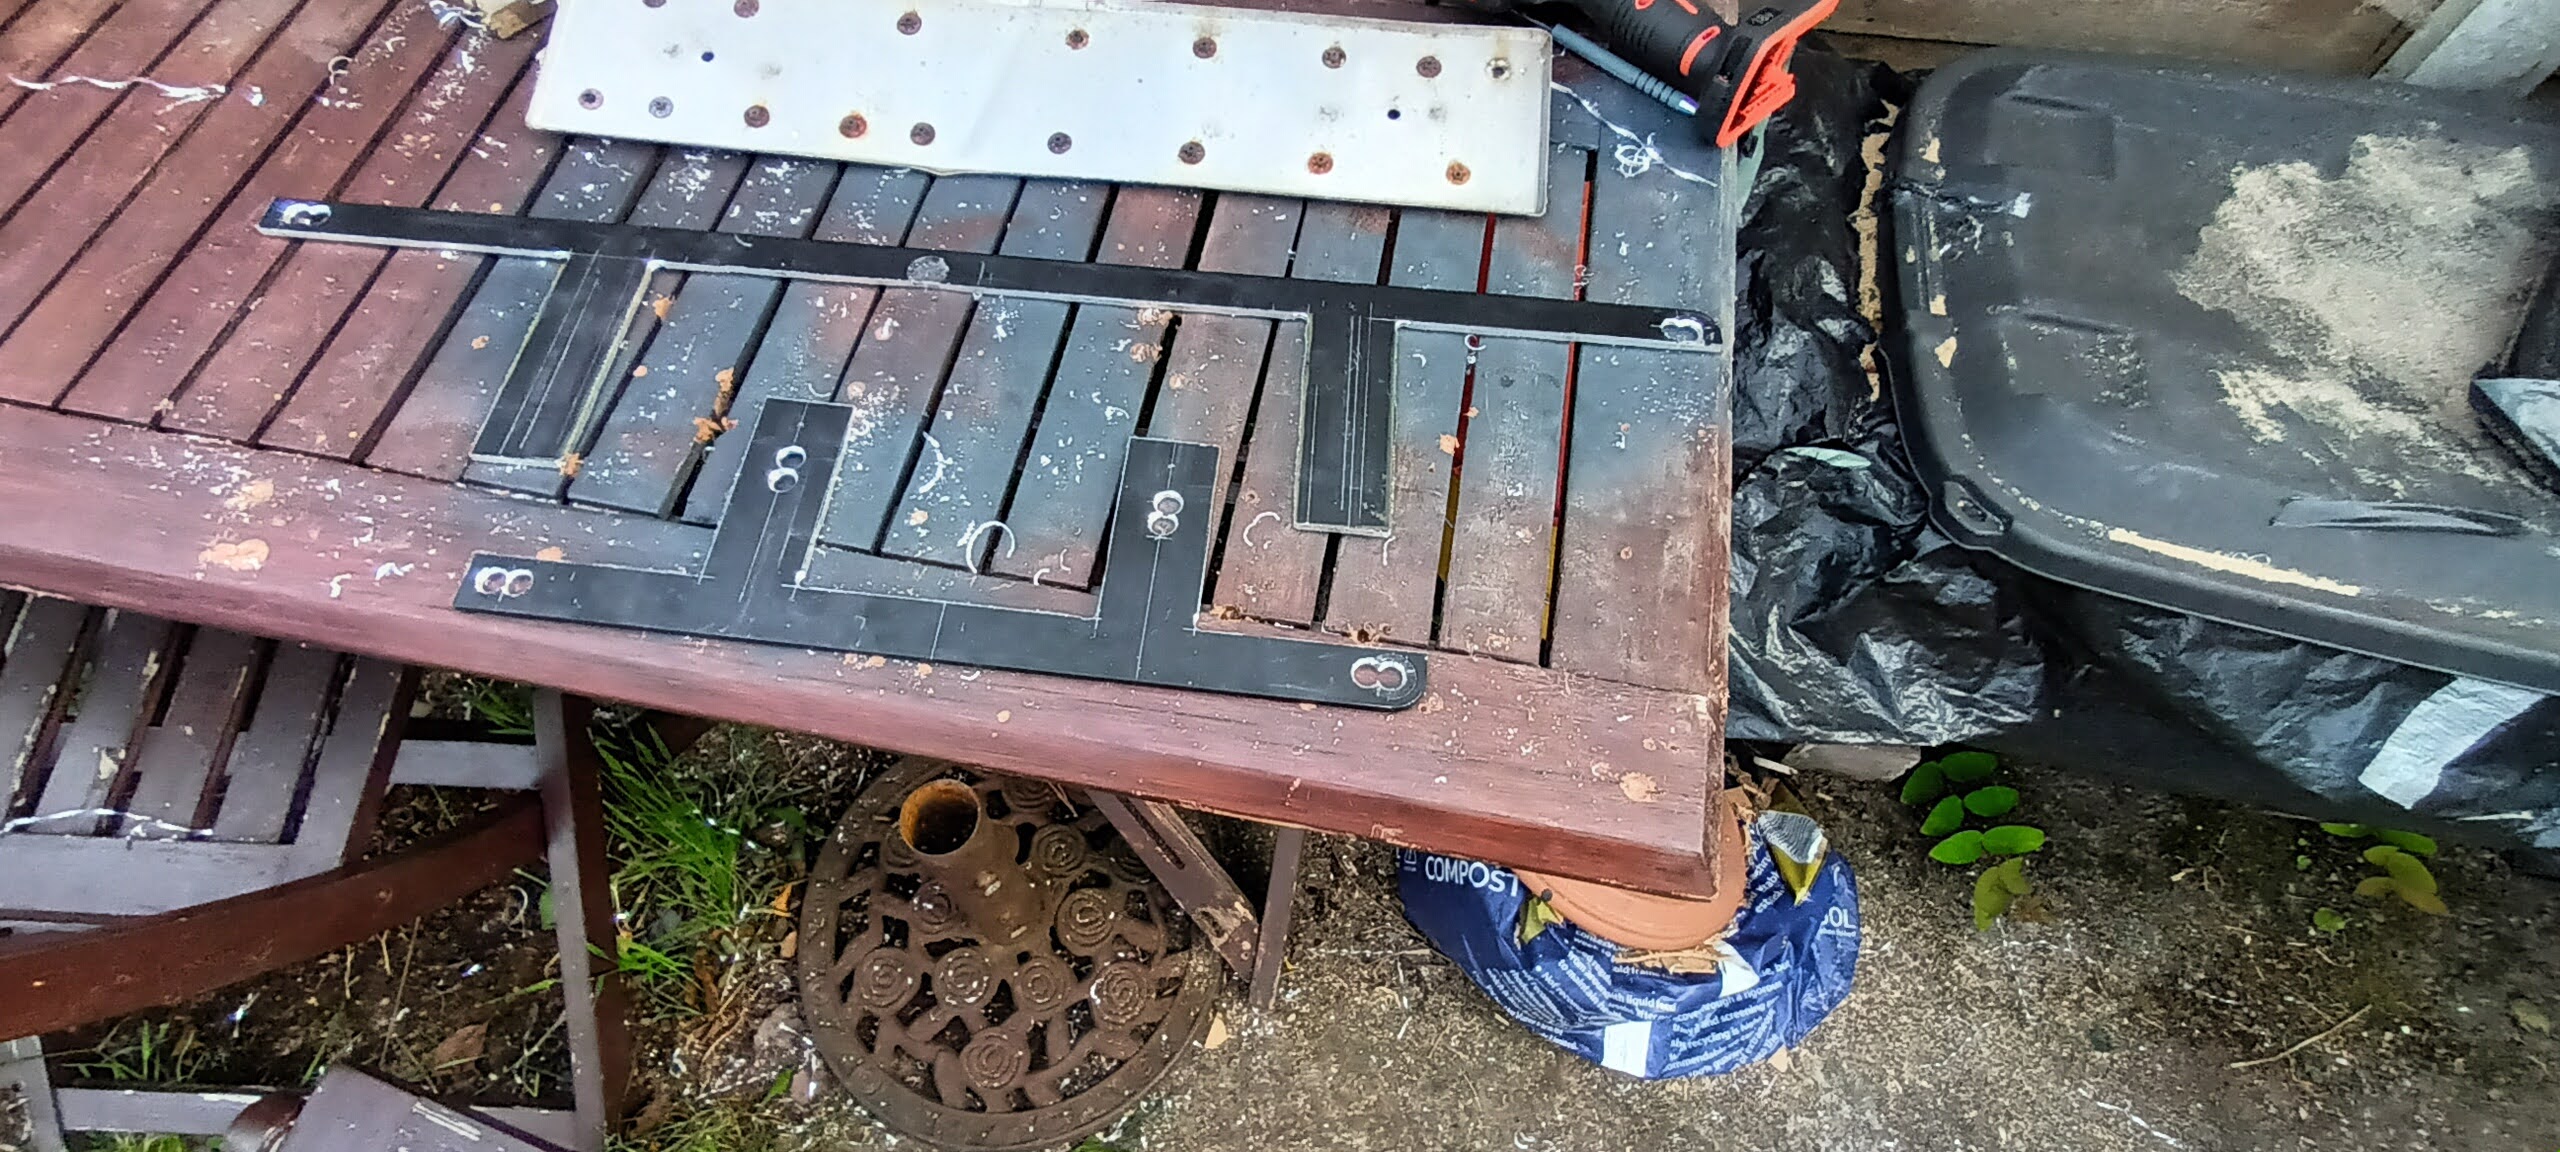
And finally cut out with trusty jigsaw using only one blade. I took ages though.

And here are the mounted plates. Again not  perfect, loosely held in position with bolts and nuts, and some ahhhem ( double sided carpet tape ) but workable.


Still got lots to tell as this was only a few days ago and only the first day of full tilt up to teatime.

So, more tomorrow...if I have the energy ,


Sunday, June 02, 2024

Too much to do.....so little time to do it.

 So I finally ordered the handbrake cable, along with another £ 80 of misc parts . Boy do the small items add up to a lot. Rear side window seals, chrome bumper bolts, door handle screw anchors etc.

The window seals were a bit of a puzzle. If you recall the shape of the outline is roughly triangular at the rear end and rectangular at the front. But the seal had only one area where the seal is/has a 90 degree mitred  corner. This meant that the seal ( luckily about 9" longer than needed) needed to be cut and joined right in the middle of the lower edge !!


Why not make the left part longer and the right side shorter so the bottom can have a nice 90 degree mitre, instead of a fiddly mid section join. Ppppffftt. 
Rant over. Also fitted vinyl to inside of window rims.


Squint hard and you can see.

Also fitted brand new wipers. Lovely. They work. The washer works. Getting there slowly.


So finally bit the bullet and fitted the handbrake cable. I must admit I struggled somewhat. I could not get the car very high up to get comfortably under the very centre. Struggle I did, that's after removing the battery clamps, battery and insulating boards as well as the P clip Phillips head screw therein hiding making mental note to fit P clip onto new cable. Twas too tricky to photo but I did my best.


Why I was dreading this is it meant having to repair the very small bracket below the handbrake lever mechanism that holds a 6mm diameter limit switch that switches off the "Handbrake on" warning light. It snapped right through the middle of the hole ages ago. Fortunately I had kept and located said part amongst this lot.


The welding of it meant a little tidy up In the shed in order to extract the mig welder. It took all afternoon. No, I don't mean the welding, just the tidying up of the shed. I did manage to find a few long lost parts that had been sought for for many years, so I stored them carefully to be lost all over again especially when they are wanted, rinse repeat for most of the " little jobs".

I did feel much better after the tidy up and the following day set to welding. I ended up making a new bracket since when using the scary grinder to clean up the tiny edges of the tiny "saved" part, it flew off at great speed into the undergrowth. Hey ho.

Cable and lever fitted, battery back in place, adjustment made and it works. 

Another step forward.

Amongst my many birthday treats was a a tool from Teemu, a rechargeable 3/8" drive ratchet. I'm quite sceptical with Teemu stuff, screws, plastics and low value stuff is very good, but manufactured tools not so. Same with the ratchet. It worked great for about 30 minutes, then sporadically for another hour.

That really pissed me off, as it's not possible to have them sent back for repair, just a refund after returning. So I dismantled it and found a wire from the batteries had come unsoldered. Re soldered it and back in business. No no no.

Same happened again. Worked sporadically, tapped it a few times and worked, sort of.

Repeated above repair but this time with much more solder. Hopefully now cured. You should not have to faff with something that cost upwards of £32 FFS !


Not resolved the front bumper alignment, so I moved onto the rear end whilst it was slightly elevated.

I've decided to locate the number plate under the chrome bumper. This means using the chrome bumper conversion brackets with a home made brackets and another home made bracket too.

The four holes in the rear needed filling but wisely decided not to weld in fresh steel. I filled them instead with aluminium mesh and glass fibre filler on the inside and good old filler on the outside.


Inside


Outside


Sanded


The whole rear valance looked a bit tawdry and a few shady rust patches were beginning to show so I set too sanding down the lower quarter, treating iffy areas with Ku-rust and giving it a good covering with some proper primer, not the crappy £1 a tin Poundland special, look 


I forgot to photo the finished article but it made it look a whole lot better. Then on to the chrome bumper and brackets.


Brackets to mount to the brackets. Home made found design on BBS MG website forum.


First fitting of the bumpers. Need to reposition a hole in the bracket bracket about 10mm up but fits much better than the front one and easier to reposition.
I'm dreading drilling an extra hole in them as they appear to be some chromed metal and are a swine to drill through.
more soon peeps