
So I finally ordered the handbrake cable, along with another £ 80 of misc parts . Boy do the small items add up to a lot. Rear side window seals, chrome bumper bolts, door handle screw anchors etc.
The window seals were a bit of a puzzle. If you recall the shape of the outline is roughly triangular at the rear end and rectangular at the front. But the seal had only one area where the seal is/has a 90 degree mitred corner. This meant that the seal ( luckily about 9" longer than needed) needed to be cut and joined right in the middle of the lower edge !!

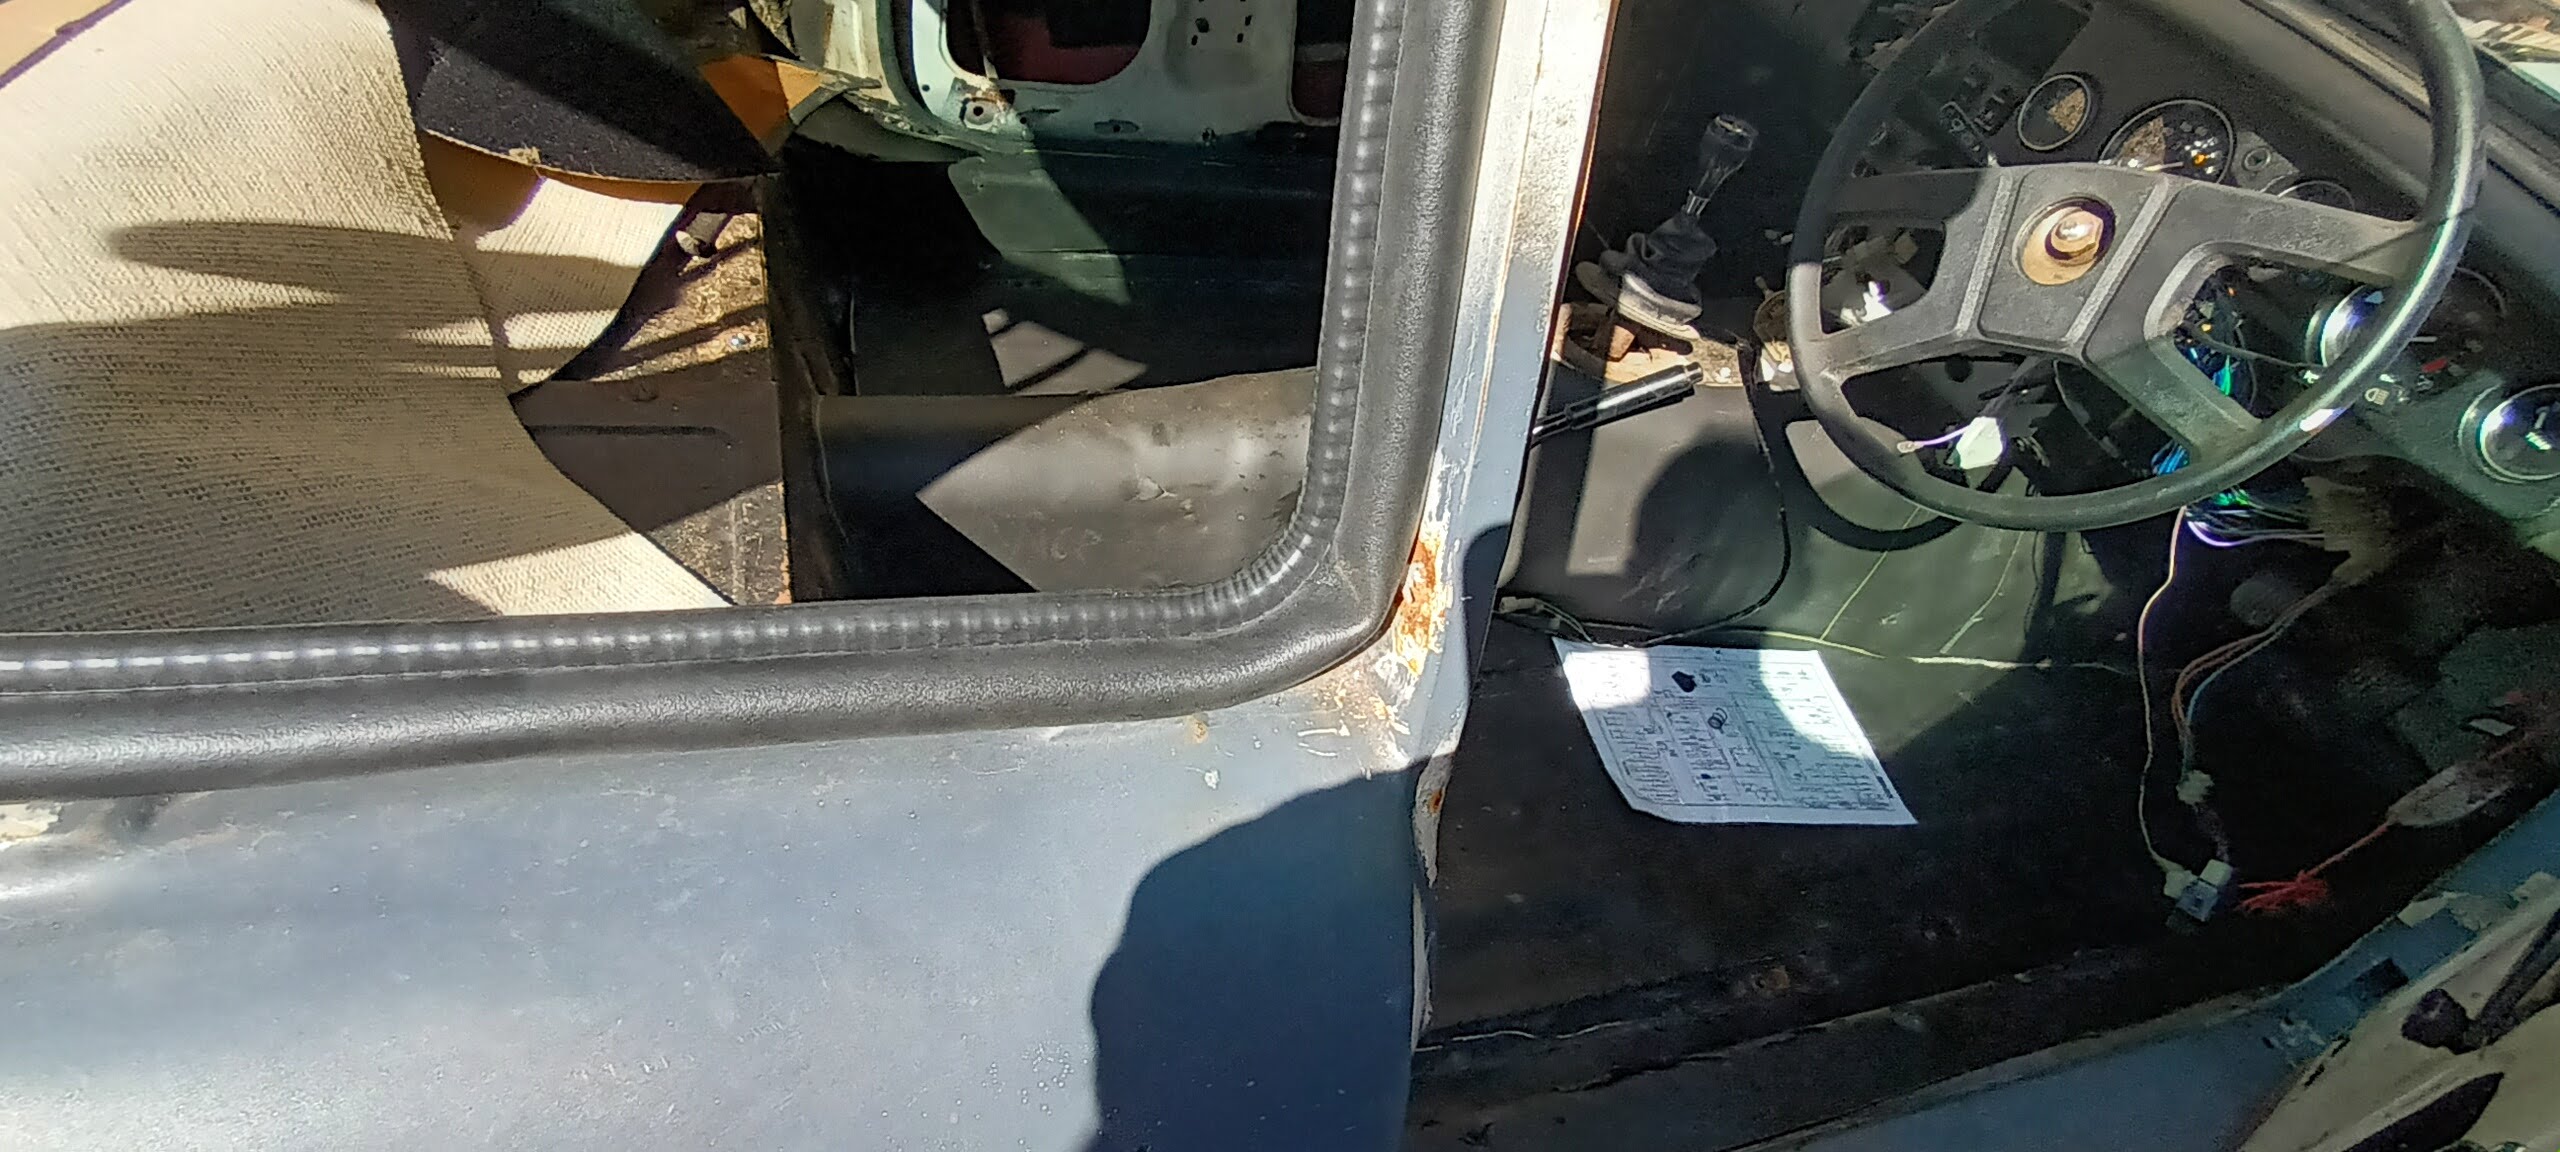

Squint hard and you can see.
Also fitted brand new wipers. Lovely. They work. The washer works. Getting there slowly.

So finally bit the bullet and fitted the handbrake cable. I must admit I struggled somewhat. I could not get the car very high up to get comfortably under the very centre. Struggle I did, that's after removing the battery clamps, battery and insulating boards as well as the P clip Phillips head screw therein hiding making mental note to fit P clip onto new cable. Twas too tricky to photo but I did my best.

Why I was dreading this is it meant having to repair the very small bracket below the handbrake lever mechanism that holds a 6mm diameter limit switch that switches off the "Handbrake on" warning light. It snapped right through the middle of the hole ages ago. Fortunately I had kept and located said part amongst this lot.

The welding of it meant a little tidy up In the shed in order to extract the mig welder. It took all afternoon. No, I don't mean the welding, just the tidying up of the shed. I did manage to find a few long lost parts that had been sought for for many years, so I stored them carefully to be lost all over again especially when they are wanted, rinse repeat for most of the " little jobs".
I did feel much better after the tidy up and the following day set to welding. I ended up making a new bracket since when using the scary grinder to clean up the tiny edges of the tiny "saved" part, it flew off at great speed into the undergrowth. Hey ho.
Cable and lever fitted, battery back in place, adjustment made and it works.
Another step forward.
Amongst my many birthday treats was a a tool from Teemu, a rechargeable 3/8" drive ratchet. I'm quite sceptical with Teemu stuff, screws, plastics and low value stuff is very good, but manufactured tools not so. Same with the ratchet. It worked great for about 30 minutes, then sporadically for another hour.
That really pissed me off, as it's not possible to have them sent back for repair, just a refund after returning. So I dismantled it and found a wire from the batteries had come unsoldered. Re soldered it and back in business. No no no.
Same happened again. Worked sporadically, tapped it a few times and worked, sort of.
Repeated above repair but this time with much more solder. Hopefully now cured. You should not have to faff with something that cost upwards of £32 FFS !


Not resolved the front bumper alignment, so I moved onto the rear end whilst it was slightly elevated.
I've decided to locate the number plate under the chrome bumper. This means using the chrome bumper conversion brackets with a home made brackets and another home made bracket too.
The four holes in the rear needed filling but wisely decided not to weld in fresh steel. I filled them instead with aluminium mesh and glass fibre filler on the inside and good old filler on the outside.
Inside


I forgot to photo the finished article but it made it look a whole lot better. Then on to the chrome bumper and brackets.


No comments:
Post a Comment