Monday, October 03, 2022

Cover kerfuffles and carb conundrums

 The seat frames are all painted, webbing replaced and sat patiently in the shed whilst the wheels were finished. Now they are done I called the local upholsterer to see how he was doing with replacing both front seat deckchair orange/brown mess.

He was charging £200 for both covers with fluted seams. Fair price I though and was perfectly willing to pay except ; before I called him I was surfing good old ebay over breakfast. There I saw a set of fluted black vynyl covers, front and rear......£119.00 from Watford classics. 

Read some reviews which were mainly good with a few sniffy comments regarding made in China etc, blah blah. I'm not looking for a concourse show stopper, just some reasonably priced items. I called the upholsterer and told him to stop work on them. Nice chap but wasn't in, passed the bad news onto his wife who runs the biz whilst he's out delivering.  He'd had the new vynyl and old covers 4 weeks but fortunately not started them due to Illness etc. Collected them and the new vynyl an hour later and ordered the new covers from e-bay, around 11.30 am.

They arrived the next day after 3 pm. They  are fantastic. Well made, finished well with quality vynyl.

I couldn't wait to fit them. But first I had to fit the foams, add a little side foam and lumbar foam support as well as some 10mm thick very soft " wadding" which I cadged from the upholsterer when I first went to discuss my requirements. I had enough to completely cover both seats and backs.


Wadding applied


Foam side bolster additions


How to shape foam.

Yes an electric carving knife and the scary grinder with 80 grit flap wheel. The flap wheel worked great but made such a mess with fine particles of blue dust everywhere, and I mean everywhere. 

The first fitting of the backrest showed I'd been a little generous with the blue foam side bolsters and getting the cover all the way down was not possible. 

So thats when I had a brain wave ( yes another) I knew wifey had an electric carving machine. She's never used it as she has always been a vegetarian, I've used it once in 20 years, at christmas to slice a beef joint.

So I had no qualms in using it. Besides I needed to slice most of the bottom half of the blue side bolsters in a nice flat straight-ish line. It worked a treat. Nice even and tapered nicely at the bottom where the covers were at their tightest. Finished off with the scary grinder and on with the fitting. Once I'd got it on and looking nice I realised I needed  to remove it again to add the headrest hole and ferrule, damn.


Ferrule fitted. It was rescued from the old covers and was a swine to get them off and  bend back the
Tabs holding in place.
I made the hole in the cover top by using a soldering iron. That too did a good job. I was very nervous about getting the hole in the right place and making a mess of the whole cover alignment. Fortunately I could feel for the hole through the vynyl and used the deep slot in the seat frame to guide the soldering Iron


 This shows the blue foam prior to trimming.

Getting the covers streched and clipped in was a right faff. I did the logical thing and did the passenger seat base and back first. Lots of swearing, cursing the sky as it looked like it would rain at any moment, bruised and stabbed fingers. But got there eventually...........until I bolted back and base together.


Look closely at the very left or right flute alignment. The left outer flute seam base is about 1/2" to the right of the seat back seam. How annoying. Was it that the  covers were made incorrectly ? Was it the wrong foam ? Is it the correct back frame or base ?. It took some pondering to figure  it out eventually.


Sorry, final reveal soon and a carburretor story. Its been another long day, but this time gardening and tidying up for winter with wifey.


Sunday, October 02, 2022

Wisdom comes from having some money and enthusiasm.......usually

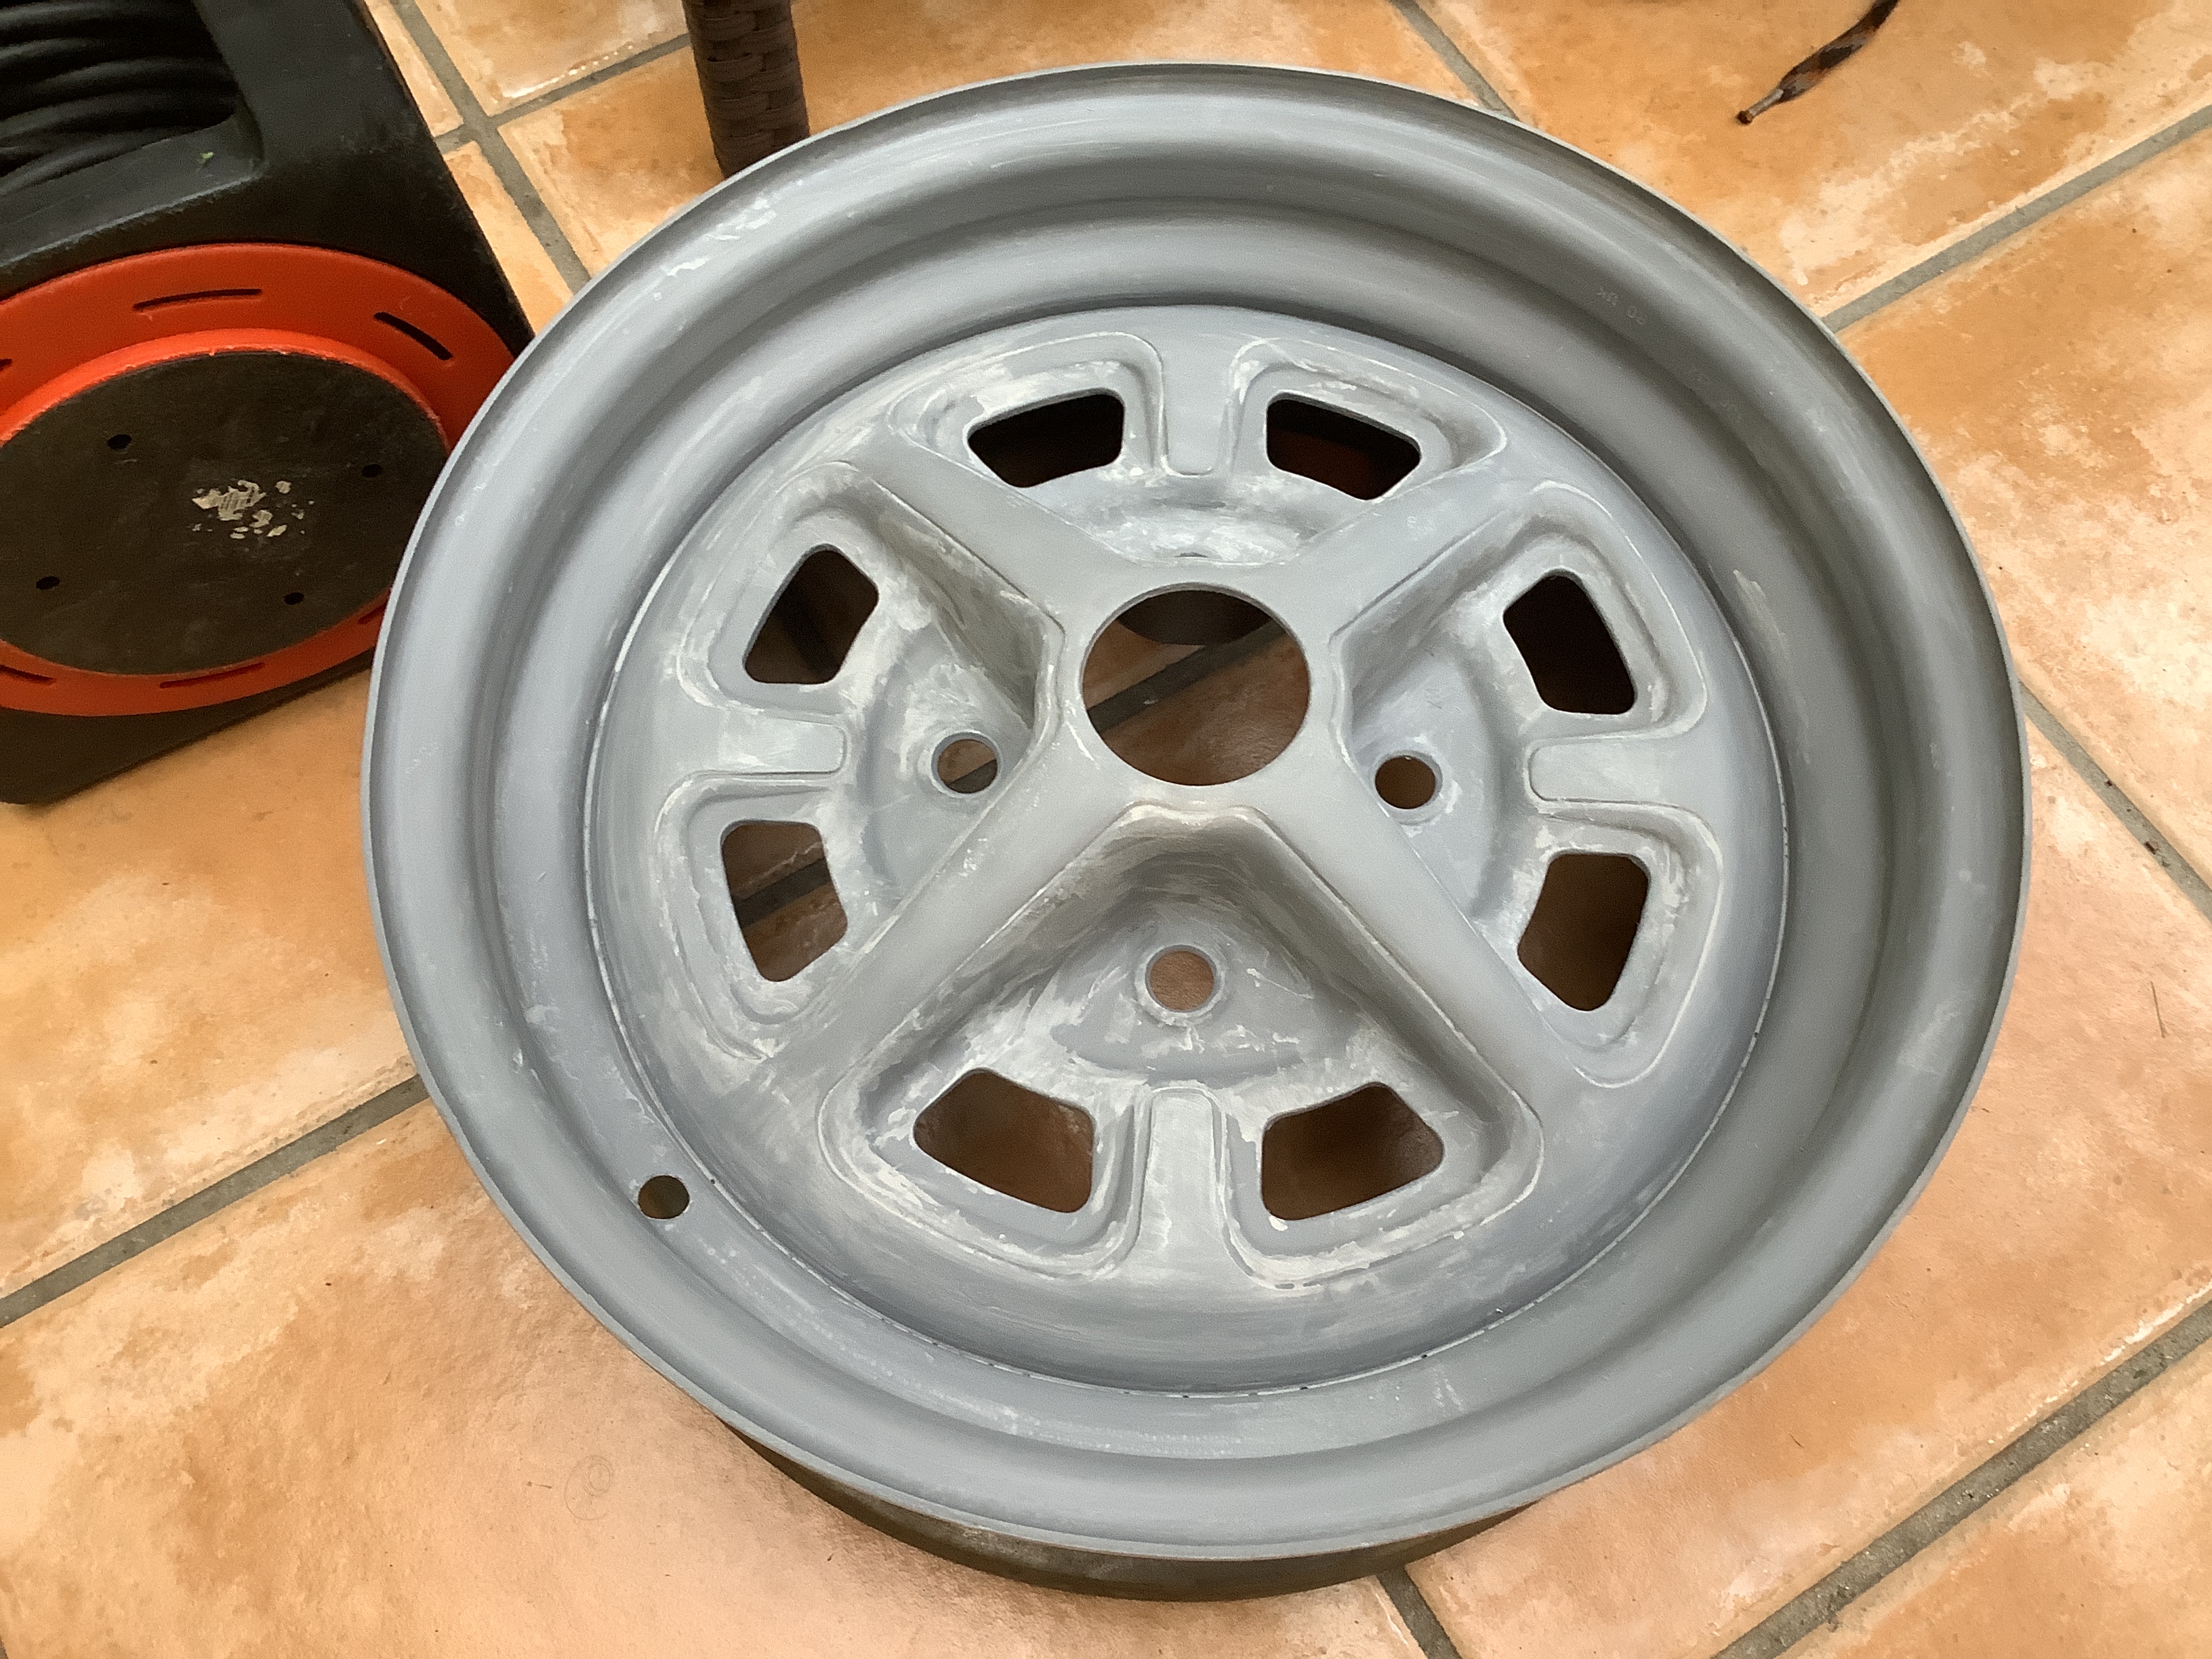
 Well, finally got the wheels coated in Nimbus grey ( 3 coats) and a couple of coats of clear lacquer before masking up for the black quadrants before I buggered off to Greece for a well deserved retirement present of 2 weeks at a 5 star. It was great, now its over and back to the grind. Well not really, since I don't have to go to work anymore.....yay.

First job was to take the wheels now well and truly cured after sitting the conservatory for  2 weeks for their new rubber. Before that though the black quadrants needed attending to.

Normal masking tape proved too wide to go around the tight corners, inside or out so a trip to the local craft store saw me buy a box of 3mm wide luminous craft tape. £3. Bargain.

Each wheel took around 50 minutes to mask, phew. x5 . 250 minutes just masking. By the end of it I was getting quite good. I did have to use the normal tape to and newspaper. A lot of masking. What I did was a sort of logical production line, masking one, masking the next one, back to first one for  light first coat, same for second one, mask third, coat first wheel fully, mask fourth.....ditto....ditto.

Twas a long job, 3 or 4 coats of Satin Black. I lost count near the end as I think some had four coats and some two, maybe. Anyways they looked great.

Except...........some corners had bled under the craft tape, pfffft. And one wheel had been missed altogether with its top insert horizontal craft tape......doh !!

Soon fixed a couple of days later with 400 grit sandpaper, more masking and delicate touch ups .


You might just see some of the bleed at around 1 o clock position, it happend on 4 of the 5 wheels, more or less similar. This shot was taken before the touch up, so Five rims are all looking perfect.

New boots fitted. Fat, hard, shiny and ROUND , for the first time in about 10 years.

Look.


You will note that the front end is a little high.This I knew would be the case since I fitted some new secondhand springs bought on e bay several years ago from a nice chap who lived about 5 mins away.

The springs were definitely shorter, but alas when fitted compressed a lot lot less, as in not at all,

so I left them for a few years so I could get on with other things.

Since I didn't want the brake calipers to disgrace the new wheels and tyres I decided to give the front corners a clean and paint. Removed the calipers to paint in nice Hammerite direct to rust Black.

It was then I noticed something quite startling and a little embarrassing

Amongst the various cast in markings on the caliper was a distinct "arrow".  Was this a direction indicator ?or just some random manufacturers mark. Then a thought dawned on me. When trying to bleed the brakes all four corners were difficult and I never quite managed it. 

I thought it was my " helpers" lack of perseverance, viz, wife and son got bored after 5 mins and buggered off. Also, and a very big also is that how the calipers were fitted meant the flexible hose was attached to the caliper at the bottom. When I purchased new flexible hoses from the MGOC and fitted them the hoze was bent at 90 degrees and definitely too short on full lock of the wheel.

So I spoke to MGOC and the bloke was adamant all MG's had the same hose length. 

They must be wrong !. Since the bloke was rather condescending at the time and my daughter confessed to buying me a gift voucher from them and at great difficulty as the " salesperson" on the phone was rather rude to her, I sent a snotty email to the chairman expressing my displeasure.

Never got a reply.

Now it dawned loud and clear. A confirmation from tinternet piccys of calipers showed  the flexible hose is at the top of the caliper. Many years ago when I re-furbed both sets of pistons and seals I fitted them wrong way round on opposite sides. Ooooooops. What a dick.

It gets worse. The pistons were a swine to push back into the calipers. 

Made worse by the fact my "4" G clamps were cheap pressed steel crap that always went sidways when being used. It was at this point, wrestling with many configurations of heath robinson attempts with the piston/ caliper that I broke one half of the workmate jaws. New workmate jaws !!!!

 The old ones only lasted 15 years, these lasted less than 6 months.

I managed to repair them with PVA glue and a section of  2" thick worktop screwed to the underside.

Back to the pistons. Since the crap clamps would not fit inside the caliper pad orifice I decided to slice the top off the G clamp so it would, inserted a socket into the  inside of the piston, clamp and push in. Done !

This time I fitted the calipers without the pads then fitted the pads. Three of the four pads went in easy peasy. The inner drivers side would not go in. The piston was about a millimeter too proud. I had the same problem  when I originally re-furbed the caliper so after some debating I removed the caliper and pushed the piston in more. But not enough though, it still was impossible to get the pad in.

Then a brainwave, loosen the caliper to gain a little more room between it and the disk. Job done.

Scary grinder with knotted wire wheel employed on disc ( new but lots of surface rust) outer hub and upper/arms and a coating of Hammerite.

The fitting of the new springs was an ordeal, at times it seemed impossible then bingo, in it went. Same for the other side. 

I spent a long long time filling the grease gun. How can such a simple tool be so confusing and very very messy. To cap it all no grease was going into the nipples on the suspension at all. Hey ho, new nipples needed then.

On a final note I the fitted the wheels............excitement !

The measurement before the new springs were fitted was floor to wheel arch inner was 26 ". Too high as can be seen from the picture above. After all that faffing of  calipers traumas, spring fitting, upside down calipers and broken workmate the new height was


24 7/8"        FFS.

But, and a big but. It now looks level and flatter so all is good. I'm sure it will settle more after a drive or to, to be slightly lower.

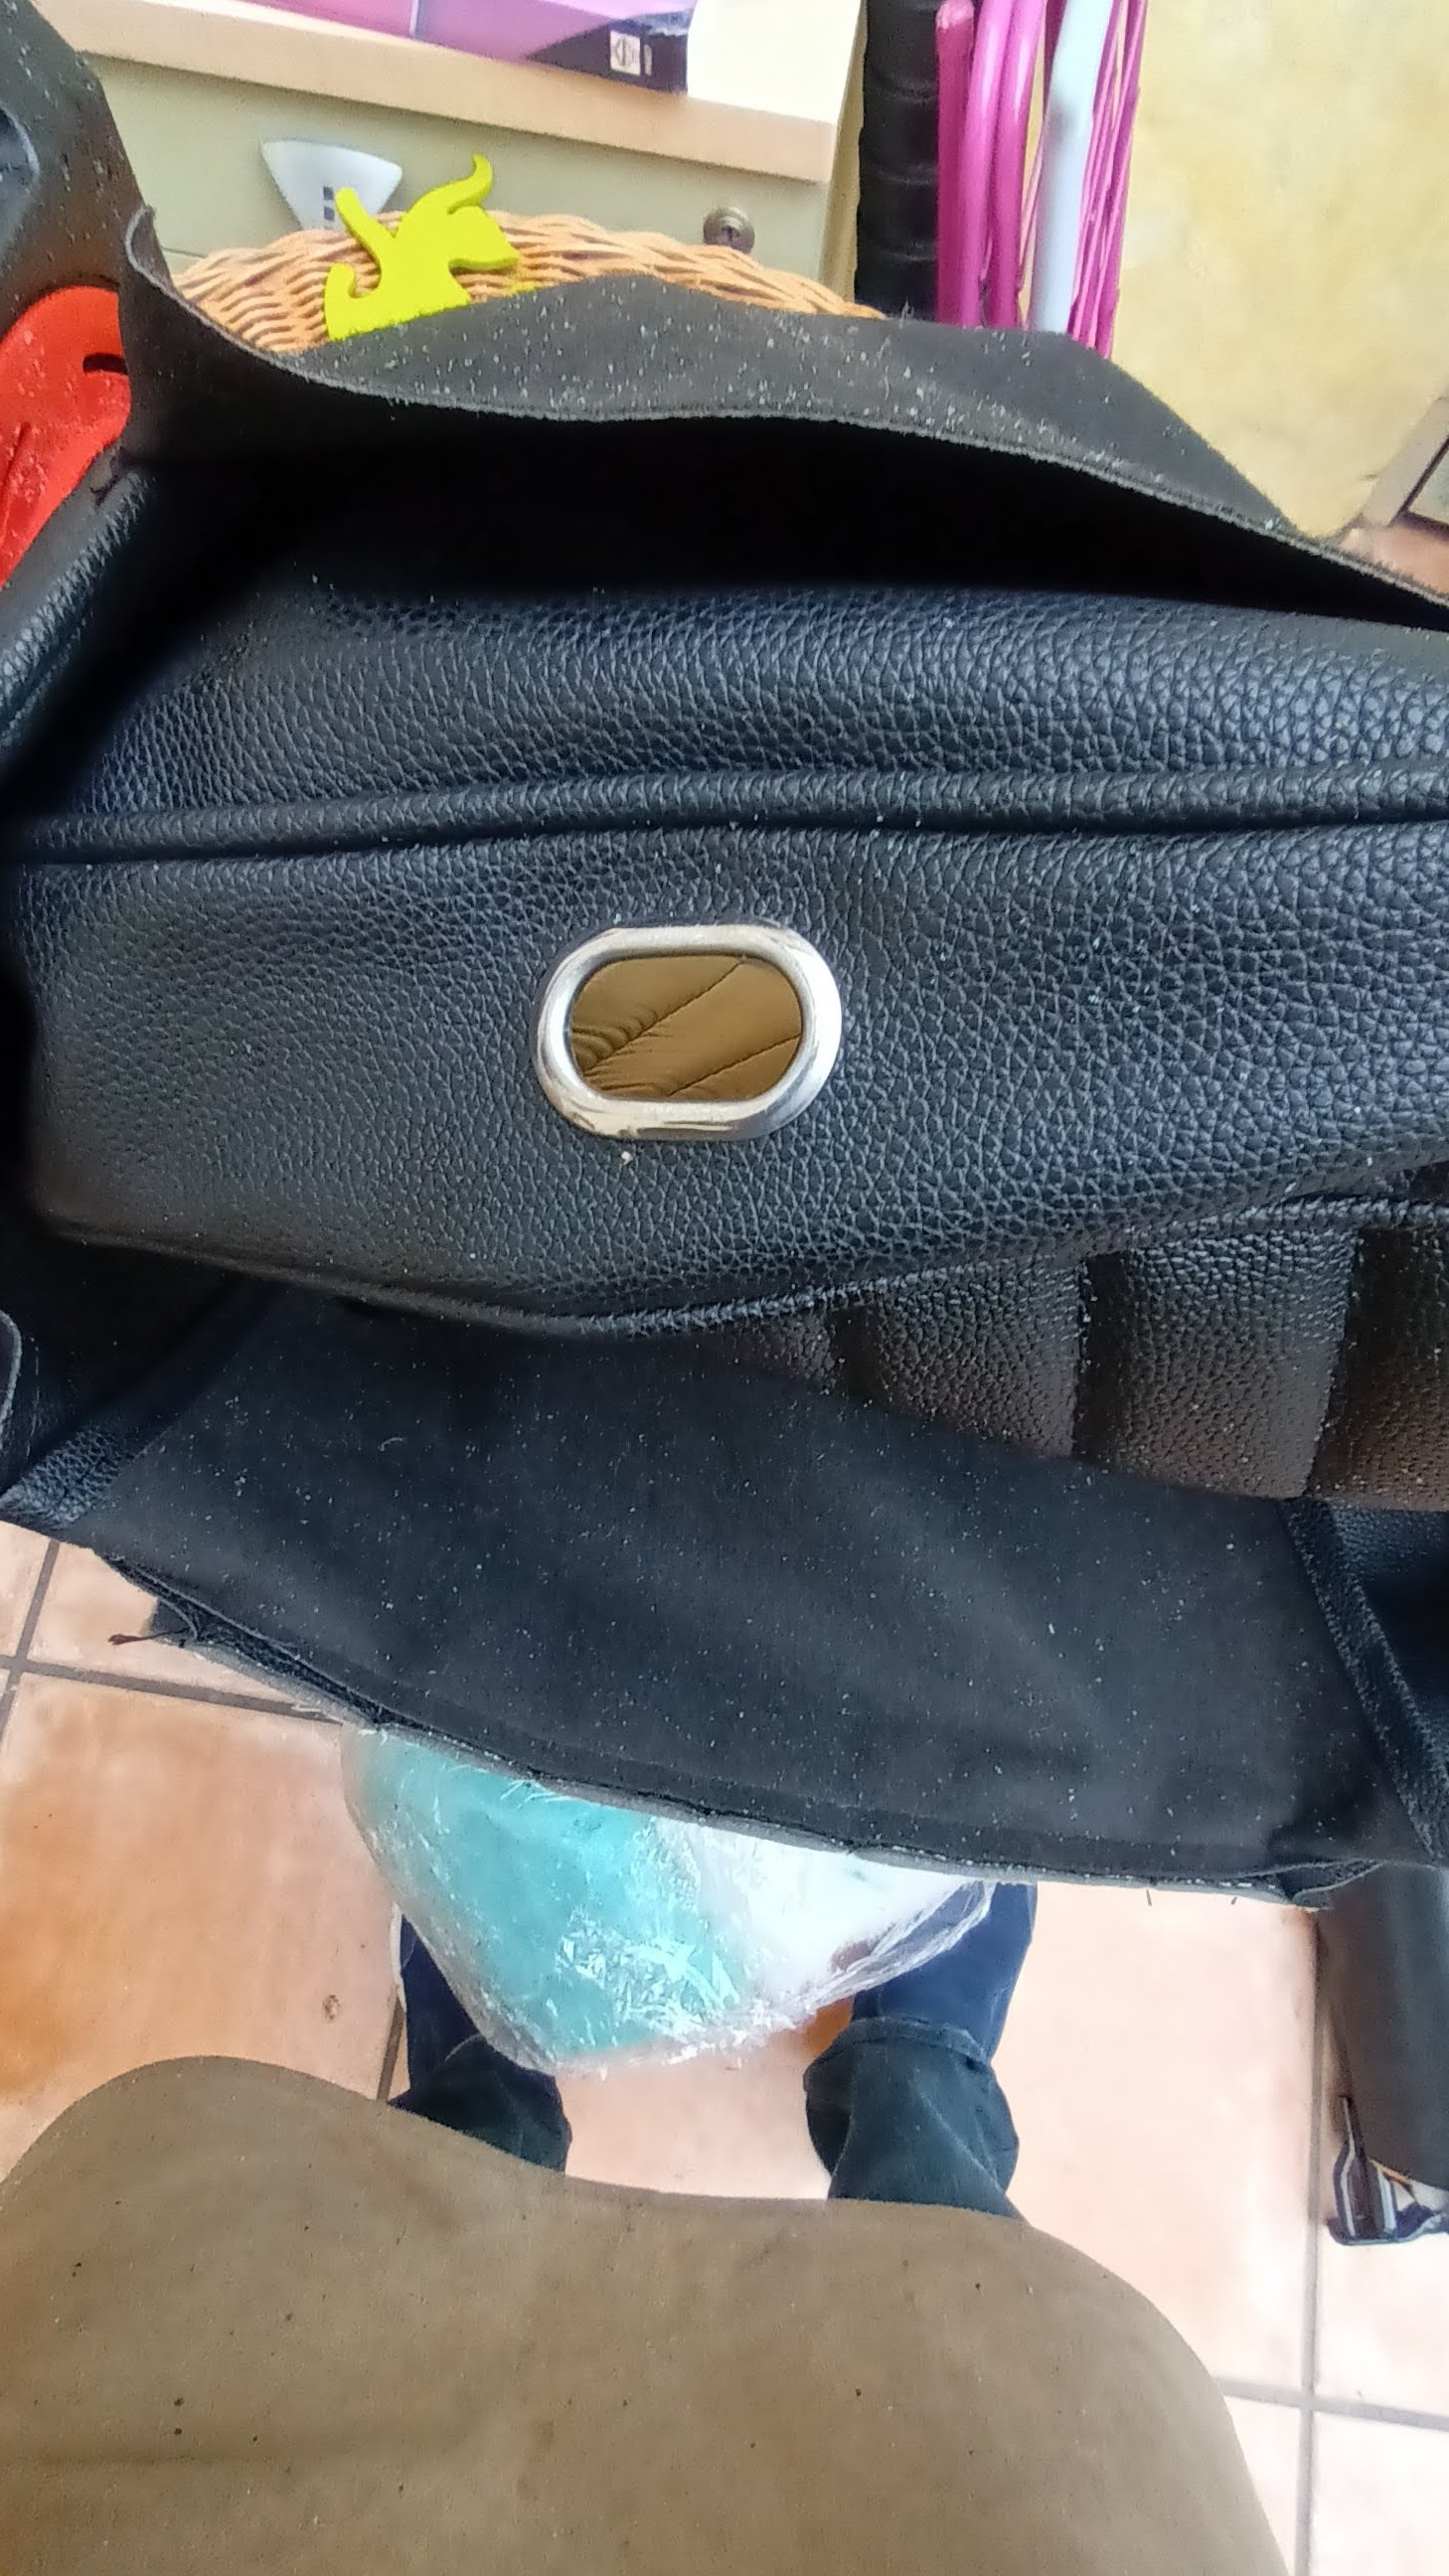
Much more to tell regarding the seats and engine bay and dash.

Here's a hint.


Monday, August 22, 2022

Watching paint dry

 So, Tony the auto electrician came. A day early as it happens, I was just cutting the grass and he happened to be near bye so he thought its worth a visit. Stayed about an hour and got loads sorted. Firstly the ignition relay was no good, he fitted a spare he had and bingo a spark, of sorts. He thought it was weak so found the HT lead was not connected correctly at each end ( my doing, years ago). Advised me to get a new one. 

He didn't like the fuse box spade connectors, ditto. Or the fuse box.

Since he had just called in to recconoitre the job he had make remarkable progress in just 45 minutes or so.

As he was leaving I commented that the sidelights we on permantently. Another 45 mins and lots of head scratching he found the green wire was feeding the fusebox and somehow making the bottom two fuse holders connected.  Yes, deffo need a new fusebox.

I can't say at this point that this was my fault. The car has always had a parasitic drain, never started from the battery, only jump leads. But now its cured. This took another 40 mins at least. 

He even called back the following day to present me with a new HT lead and fitted it. Also to give advise on next steps, to call him when all new bits are fitted before starting the engine, what a guy !

So now it has ignition, dash lights, working indicators, hazards, and high/ low beams and good spark.

That soiree a day early made the wheel refurb a day late and time is getting very tight. I need the wheels with the correct colour on before I depart for my holibobs so it can cure a while.

Firstly though was the small matter of my retirement and wifeys birthday. It all went well so this week I set to sanding the wheels with 400 grit to get the silver/white/ protective coating smooth.

I also wire brushed the edges and inner part of the wheels as I had the tyres removed some days earlier.

Cor blimey, what a faff. They were in a right state. One was very rusty indeed.

I'm obsessed with getting the edges near the tyre and very outer rim looking good and smooth.

I used a good smooth file and the scary steel wire wheel in scary bosch grinder.

Two coats of primer and job done for today. I was lucky the weather held out with no rain, as the forcast was for rain all day. That would have set me back and scuppered everything.

Just managed to get all five wheels in primer and wet sanded one with 1500 grit before the staedy rain set in.

Just about done. Needs another quick smooth over tomorrow x4, then on to the final silver .


More after holibobs hopefully with a set of new boots and looking good.


Monday, August 15, 2022

Much binding in the marsh

 I reviewed the seat webbing after I completed the 2nd seat frame. 

Not happy that it would be up to the job.

I took the old seat bases and backs to my upholsterer. Nice chap and was willing to replace the orange deckchair Nylon with black vynyl and 2" pleats in the centre.

I did first enquire at a local automotive upholsterer with good reviews online. However, the female on the other end of the line did not seem keen or helpful, topping off with " well the earliest I can start them is after christmas". WTF.

Anyways, another 2 mts of vynly sent directly to the upholsterer and job done, really friendly guy and gave me some wadding should the foams be a little reduced. 

He also gave me 6 mtrs of polyester webbing used on sofa backs. Game on, a new set of straps sewn up easily on the ancient Singer.

No. Not at all. They were flimsy, taut as a drum and that was their downfall. I didn't think they would be up to the job, especially the shock loading. The last thing I wanted was to have to remove the seat frames again after the car is done.

So I ordered some 2" wide nylon webbing ala seatbelt type stuff but not as wide.

What a performance that turned out to be. Getting the correct tension was a nightmare.

What I should have done is fix the inner frame and clips all round with one end sewn up, stretched it ( very little stretch on these) clamped up then unassemble and sew the loose end.

I only discovered this technique on the last two cross straps. Before that was a series of stitching, fitting, not being tight enough or too loose, cutting four rows of stitching , retightening and restitching.


Bugger,bugger and more bugger. Iv'e just got a new phone and somehow not able to show the correct images.
I did intend to show the staps on both seat frames looking good and taut.

So here are some images of the frames underway. The drivers back frame was by far the worse but was soon fettled
with the brass wire wheel in trusty Bosch drill, primered and sprayed gloss black, twice.

Lots happening though. 
The seats will be complete by mid/ late Aug.
The Auto Electrician visits this Friday ( says one hours work should be more than enough)
Wheels away having tyres removed then paint nimbus grey before hols, tyres booked for fitting 10 Sept after hols.
Found boot lock AND KEY ! Cleaned and ready to fit.
Need to paint front and rear brake drums and mask tyres for black infills.

So no posts for at least 3 weeks but hopefully then more exciting news. 

Oh............ and I retire in a couple of days. Yay. TFFT.