Tuesday, June 18, 2024

The pressures on full tilt

 So a side project has always been to have the front and side driveway re-tarmac'd as well as making the front of the drive wider and a large flat garage base to the rear of the house. Since day one the MG has sat halfway down the drive behind the large driveway gates.

Well after 30 odd years the time has come, and boy has it. The lovely contractor paid us a visit to finalise details then came the bombshell, I can start it next week !!!   it'll take just short of a week.......nearest other start date is late August.   

I bit the bullet and said " next week please". This sent wifey into a flat spin of panic mode full Tilt.

Plants to uproot, stumps to level, boxes to move, storage Keeter to empty and move, find new temporary places for some plants, order new fencing and paint, repair current fencing on driveway.

''Twas only hard labour for me but for wifey It meant making decisions, something she avoids at all costs.

Whilst I got on with the labour part of moving stuff off the drive and front, about 8 pots and 4 storage boxes ( full of all my tools and misc MG stuff ) she stood in the front garden wondering and prevaricating.

I did dig out 2 large plants then left her to her wondering.

The big thing for me was I had to get the MG looking like it was somewhat finished and would start, stop and be mostly legal and be moved each day off the driveway and onto the road.

Here is a view of my containers that's been my life for years and years.


Below is the very old garage base area that was going to be done " soon", 30 odd years ago.


Taking things in order I first had to mount front and rear number plates. I started the front last month before we decided on a contractor, but I left them loosely attached and poorly aligned. I left them like that. I needed to make a bracket to attach behind the bumper but in front of the " L" mounting brackets.

I decided to make one from the rear bumper too. The trial one I made a few weeks ago from a Fiat Panda sill section was too weak and flimsy.

I did find a large sheet of powder coated Aluminium 3mm thick left over from the new TV purchase so I utilised it, waste not want not, up cycling and all that.


Here it is marked out.


And finally cut out with trusty jigsaw using only one blade. I took ages though.

And here are the mounted plates. Again not  perfect, loosely held in position with bolts and nuts, and some ahhhem ( double sided carpet tape ) but workable.


Still got lots to tell as this was only a few days ago and only the first day of full tilt up to teatime.

So, more tomorrow...if I have the energy ,


Sunday, June 02, 2024

Too much to do.....so little time to do it.

 So I finally ordered the handbrake cable, along with another £ 80 of misc parts . Boy do the small items add up to a lot. Rear side window seals, chrome bumper bolts, door handle screw anchors etc.

The window seals were a bit of a puzzle. If you recall the shape of the outline is roughly triangular at the rear end and rectangular at the front. But the seal had only one area where the seal is/has a 90 degree mitred  corner. This meant that the seal ( luckily about 9" longer than needed) needed to be cut and joined right in the middle of the lower edge !!


Why not make the left part longer and the right side shorter so the bottom can have a nice 90 degree mitre, instead of a fiddly mid section join. Ppppffftt. 
Rant over. Also fitted vinyl to inside of window rims.


Squint hard and you can see.

Also fitted brand new wipers. Lovely. They work. The washer works. Getting there slowly.


So finally bit the bullet and fitted the handbrake cable. I must admit I struggled somewhat. I could not get the car very high up to get comfortably under the very centre. Struggle I did, that's after removing the battery clamps, battery and insulating boards as well as the P clip Phillips head screw therein hiding making mental note to fit P clip onto new cable. Twas too tricky to photo but I did my best.


Why I was dreading this is it meant having to repair the very small bracket below the handbrake lever mechanism that holds a 6mm diameter limit switch that switches off the "Handbrake on" warning light. It snapped right through the middle of the hole ages ago. Fortunately I had kept and located said part amongst this lot.


The welding of it meant a little tidy up In the shed in order to extract the mig welder. It took all afternoon. No, I don't mean the welding, just the tidying up of the shed. I did manage to find a few long lost parts that had been sought for for many years, so I stored them carefully to be lost all over again especially when they are wanted, rinse repeat for most of the " little jobs".

I did feel much better after the tidy up and the following day set to welding. I ended up making a new bracket since when using the scary grinder to clean up the tiny edges of the tiny "saved" part, it flew off at great speed into the undergrowth. Hey ho.

Cable and lever fitted, battery back in place, adjustment made and it works. 

Another step forward.

Amongst my many birthday treats was a a tool from Teemu, a rechargeable 3/8" drive ratchet. I'm quite sceptical with Teemu stuff, screws, plastics and low value stuff is very good, but manufactured tools not so. Same with the ratchet. It worked great for about 30 minutes, then sporadically for another hour.

That really pissed me off, as it's not possible to have them sent back for repair, just a refund after returning. So I dismantled it and found a wire from the batteries had come unsoldered. Re soldered it and back in business. No no no.

Same happened again. Worked sporadically, tapped it a few times and worked, sort of.

Repeated above repair but this time with much more solder. Hopefully now cured. You should not have to faff with something that cost upwards of £32 FFS !


Not resolved the front bumper alignment, so I moved onto the rear end whilst it was slightly elevated.

I've decided to locate the number plate under the chrome bumper. This means using the chrome bumper conversion brackets with a home made brackets and another home made bracket too.

The four holes in the rear needed filling but wisely decided not to weld in fresh steel. I filled them instead with aluminium mesh and glass fibre filler on the inside and good old filler on the outside.


Inside


Outside


Sanded


The whole rear valance looked a bit tawdry and a few shady rust patches were beginning to show so I set too sanding down the lower quarter, treating iffy areas with Ku-rust and giving it a good covering with some proper primer, not the crappy £1 a tin Poundland special, look 


I forgot to photo the finished article but it made it look a whole lot better. Then on to the chrome bumper and brackets.


Brackets to mount to the brackets. Home made found design on BBS MG website forum.


First fitting of the bumpers. Need to reposition a hole in the bracket bracket about 10mm up but fits much better than the front one and easier to reposition.
I'm dreading drilling an extra hole in them as they appear to be some chromed metal and are a swine to drill through.
more soon peeps


Tuesday, April 30, 2024

Back to winter and wondering

 So I've received the seat belts, carpets and misc other bits and bobs. Sadly I have spent a few weeks just staring at them as it was too cold, wet, and windy to make a start.

I did do a bit of browsing regarding the colour though. I'm undecided on which shade of green 

.

The garden pea green is more traditional, but a little boring. Still, it looks very much like I want mine to look, especially with the recessed grille and without the overriders.


Below is a more modern take on the Ford Mustang Highland green metallic ala Steve McQueens Bullit car. I think I'm favouring this colour though.


Or even this.

One point of note is the seatbelts. Mine has a sensor on the receiver end which turns off the seatbelt warning light when inserted with ignition on. The new ones don't. I knew this when I ordered them but thought....... " I bet I can modify them to work".....guess what, I was can't. They a quite a different design. I could use the original stalk and base but that wouldn't look right and I can't be bothered. I still have to weld the handbrake sensor mount, but that's after fitting the new handbrake cable.Which incidentally I forgot to order when ordering about seventyfive quidsworth of stuff !!!

So the warning light for the belts will have its bulb removed as per the advice from the MGOC.

 " They all do that Sir ". Guffaw.

The carpets look great though. Great quality and very well finished and excellent quality for only £140. I probably pondered the carpets more than anything, what with the vast price range, quality range, descriptions and postage charges from all online vendors. They did dwell in the conservatory for a few days together with the rear seats now recovered. Wifey got a bit fed up of having them take up so much room so made me move them. I loosely positioned them in the car and even literally thrown in makes a great difference to how the car looks now. Sadly I forgot to photograph them as I was in a rush to tidy up then had to mow the lawn as promised to wifey.


About ten days ago we had a rare sunny afternoon so I fitted the seat covers then set about trying to fit the front bumper. The bumper Irons are held in position with a large steel block inside the  frame rail via two M8 bolts and washers. Since I drilled the holes many moons ago there is not much room for adjustment and, this was a big and, the irons are at slightly different angles so this made getting the alignment even more difficult. I managed to get the irons more even but still struggled to get them centralised and looking concentric to the front lower apron rim, where the valance attaches. 

I spent about three hours faffing and swearing, still not perfect, so I left them as it was getting cold and dark. They are held roughly in position with two mole grips and that's how they will stay till I get all/ most of the other stuff fitted.

Middle


Right


Left


Today saw me busy all day. Fitted the new vaccuum hose, brake booster to manifold.

Hunted for in shed and found - bonnet mechanisms, all nicely painted Matt Black some time ago. The large spring loaded latch operated by a Bowden cable from inside had the  three bolts attached. 

Sadly the bonnet mounted ones did not. Neither could I find matching bolts, nuts and washers for the Bowden cable routing down the wing and front slam panel. I must have spent hours  walking up and down to the shed and back trying to find anything that would suffice but no joy, well a little joy, I found one set sort of, enough for the latch to work after some judicious lubrication. Aligning up the latch mechanism was a different matter altogether. 

What a major Faffffff !!!!!!!

I lined it up very centrally, tightened the three bolts and gingerly pushed down the bonnet.

I heard a nice thunk/click of the spring pushing the cone under the latch, the bonnet aligned perfectly, then came the crunch moment ..............would it unlatch when pulling the handle from inside the car !!!


No it would not !

That's where the major faff started. The only way to get the cone back past the sliding latch was to undo the three bolts. They were under the bonnet on the slam panel. The bonnet would only lift about one inch allowing awkward access to the bolts, about three inches into the slam panel. 

It took about 75 minutes to get the three bolts out......phewww.

I had another go, guess what, I got exactly the same result. @*&#"8%+.u*=/,0@!!

''Twas then I noticed something big, black and cone shaped in the box of painted hinge parts. 

I'd forgot the top guide thing !!!!. Just as a precaution though I ran a 1/4 unf tap down the slam panel captive bolts, lined up again and tentatively tried again knowing full well if it didn't work I was off down the shop for a big bottle of whisky.

It did though with great relief.    Look 


I still couldn't find a nut for the bonnet stay bracket which is in turn mounted to a wing attachment bolt so I bit the bullet, went online and ordered 35 quids worth of nuts bolts and washers UNF type. This will speed up the restoration greatly and save the 75 trips too and fro to the shed every time I embark on each little 10 minute job.

I'm still fretting over the passenger door gap and the fact the car now won't start. As I was packing up for the day I suddenly realised why it won't start...........,,,,there is no fuel in the tank!!!!!!!

That's enough for now, next up is making new internal panels to replace the shoddy and worn ones and then fit the carpet. Oh, and order a handbrake cable.


Tuesday, March 26, 2024

Springtime means MG time, bout time

 Is it just me or has winter lasted forever. The new garage has not yet materialised, but soon. The double tarpaulin has lasted well and had to be adjusted only three times so far due to very strong winds.


So where are we and what shall I be getting up to.

A re-cap.......the Webasto is finished on the outside and fits well, looks good and black and can be easily removed if required. This was due in part to something rather unusual, forethought !

I cut four square flaps in the rear black felt headlining to match up with the four bolts holding the Webasto rear rail. These can easily be re-stuck back down with double sided tape and are invisible, result.

Still not bought the new handbrake cable, carpets or seatbelts. But I will real soon after the Easter break which we are spending "up north" with recently married daughter. In fact I'll order them tomorrow so they are here for when I return.

Next up will be either driving or having transported the car a couple of miles to the local MG specialist to get the engine running smoothly. I've lost all patience with it. Distributor issues, fixed, issues again, timed, issues again, re-timed, firing order change due to pinion upside down? Vacuum leak, carb issues, balancing..............it was all too much so since I have the money, why not.

I have done a lot of staring and thinking over the door gaps and misalignment/ warp. Still not sure of the cure, so I"ll ask the specialist his take on it.


I have made the definite decision that I"ll be using it this summer come hell or high water, providing it passes a MOT, or somewhere near.

I'm looking forward to fitting the carpet and seatbelts as well as the rear seat, door trims and cards and the myriad of other bits cluttering up the shed. So in essence it's not going to be a show queen, just a driveable classic car to be worked on whenever.

Summers not quite here yet so no recent photos and I still have no idea as to the final colour but am starting to favour dark metallic racing green. Not the colour I sprayed the spoiler though, viz


A little less purpleish and more greenish, almost similar to a Ford mustang Highland green.... I think ,

The heater matrix needs to be replaced as it leaks, I'm dreading this as the internal hoses are a nightmare to reposition internally.

So, the car does run, but a little roughly and only with some  choke. Need to buy many chrome bolts to fit the front bumper, number plate/lights and rear bumper, reverse light, check overdrive/ switch. Fit rear seat covers, seatbelts AND.........rear can't rail. Yes I got the Holy Grail of parts on EBay for £30, complete with fitting clips !!It's a bit grubby colour wise but it's going to be sprayed Matt black anyway. 

So I promise to keep you all posted with the order of things, results and photos over the coming 
  

A belated recent treat for retirement from wifey. A few laps at Mallory Park in three Aston Martins. Without doubt the best was the Vantage. This is not the original DB 5 but a modernised copy, still very good though.


Tuesday, September 12, 2023

Catch up time.....lots to tell

 So I left off a few months ago with the Webasto roof half done, the carbs leaking like billio and the rear seat covers untouched in the shed.

The covering of the hardboard roof liner was done and quite easy it was. I did it in two halves, front and rear. There is so much overlap front/back & left/right that test fitting was easy. 

I purchased a slight seconds roll of black velour type material, from Martrim, foam and scrim backing 1 mtr x 1.4 mtrs. I calculated this would just be big enough. It was very close though, mostly because of my wonky cutting. I needed a large square for the Webasto underside and had to be inventive on how it was attached and folded when slid back. After lots of web searching I had an idea of how to proceed. Hand sew some tape down the sides, thread stout cord inside a back pocket and hammer into the slit tube on the back frame. Then pull the front and tension it with, well....................I forgot ! It's been weeks ago.

I seem to remember it would only go as far as the front cross box section with a little under lap one side and about 5mm short the other. I had enough to cover the whole of the box section though so did some finagling with black Velcro and fortunately the side tapes I had deliberately left 3" long at the front which helped get the tension correct.


This shows the hardboard shaped and fitted. It is quite easy to remove at this stage, so I did and sprayed the side and front. roof rail vinyl coverings a nice Matt Black.

The rear took some pondering though. The sliding static part is held on by four bolts from the underside but covered by the board and lining. I needed a way to access these so I cut four holes in the board and a flap in the lining. When smoothed over they are almost invisible, but I think some double sided tape would be even better.

Some contact adhesive and vinyl strips glued to the underside of the roof and more string ensured the material folded when the vinyl folded all nice and neat. So I was well pleased how all this turned out as I'd spent more time overthinking this than anything else. It also took my mind off the carb issue as well as attending to wifey during her hip op rehab.


This shows what's left of the roof covering, fortunately I used some of them to make a trim piece close to the front box section to make it look perfect.


This shows the front box section covered with the handle riveted in place. Using the rivet gun ( e-bay cheapo years ago, but so far never used ) deserves a whole post to itself.


Above shows the outside of the Webasto which so far has resisted all attempts to come clean and new looking. I've tried hard scrubbing with soap and water, blasting with jet wash, meguars vinyl-cleaner, armour all clean and shine plus lots of other household products. Nothing worked ,,,,, it still has a slight brownish/white tint in the bottom of the grain. In desperation ( I'd used every chemical in the house up to press) I tried Cherry blossom black shoe polish. 
Well f*** me,     
It worked a treat, lovely deep lustre and all solid black and even.

The carb issue had to be met full on now as I have resolved to get the car running well and treat the rest of the stuff as a running restoration.
Carbs off again, new float valves installed and floats set correct.
Still won't start, but not flooding and pump working as it should.

Fiddled with mixture and choke cable...no joy.

Left it for the following day and bingo, it starts with the choke halfway out. Runs a little rough so adjusted the mixtures again, and again. Back to square one, rinse and repeat.

Meanwhile I purchased a timing light from Amazon. It works great, it shown 20 degrees of advance, too much though.
But and this is a big but, the distributor won't move......at all. So far it's been soaked in penetrating fuel for a few days, but then came the rain so job stalled. Apparently it's a common problem and most folks say to destroy the dizzy and buy a new one, bugger that, I'm determined to get it out whole and un damaged.

That was yesterday. A week or too prior to that I spent 2 days trying to get the horns to work. Well what a puzzle. Two double purple wires come to the front drivers side, one pair permanently live the other two do nothing except connect the horns together. I'd looked at this problem months ago and decided to leave it, however with the new found enthusiasm to get it roadworthy as determination set in.

After yet more tinternet searches it transpires that all the wiring diagrams ( Advance and Haynes ) are wrong !  I found a forum post explaining how to wire in a relay, tried it and bingo. TFFT .

It's strange but a few years ago wiring up the headlights and removing all the old wiring mess in that area there was a strange relay with yellow wiring which I presumed was for the headlights, but maybe not ?.
Anyways all is good and another unfathomable job resolved.

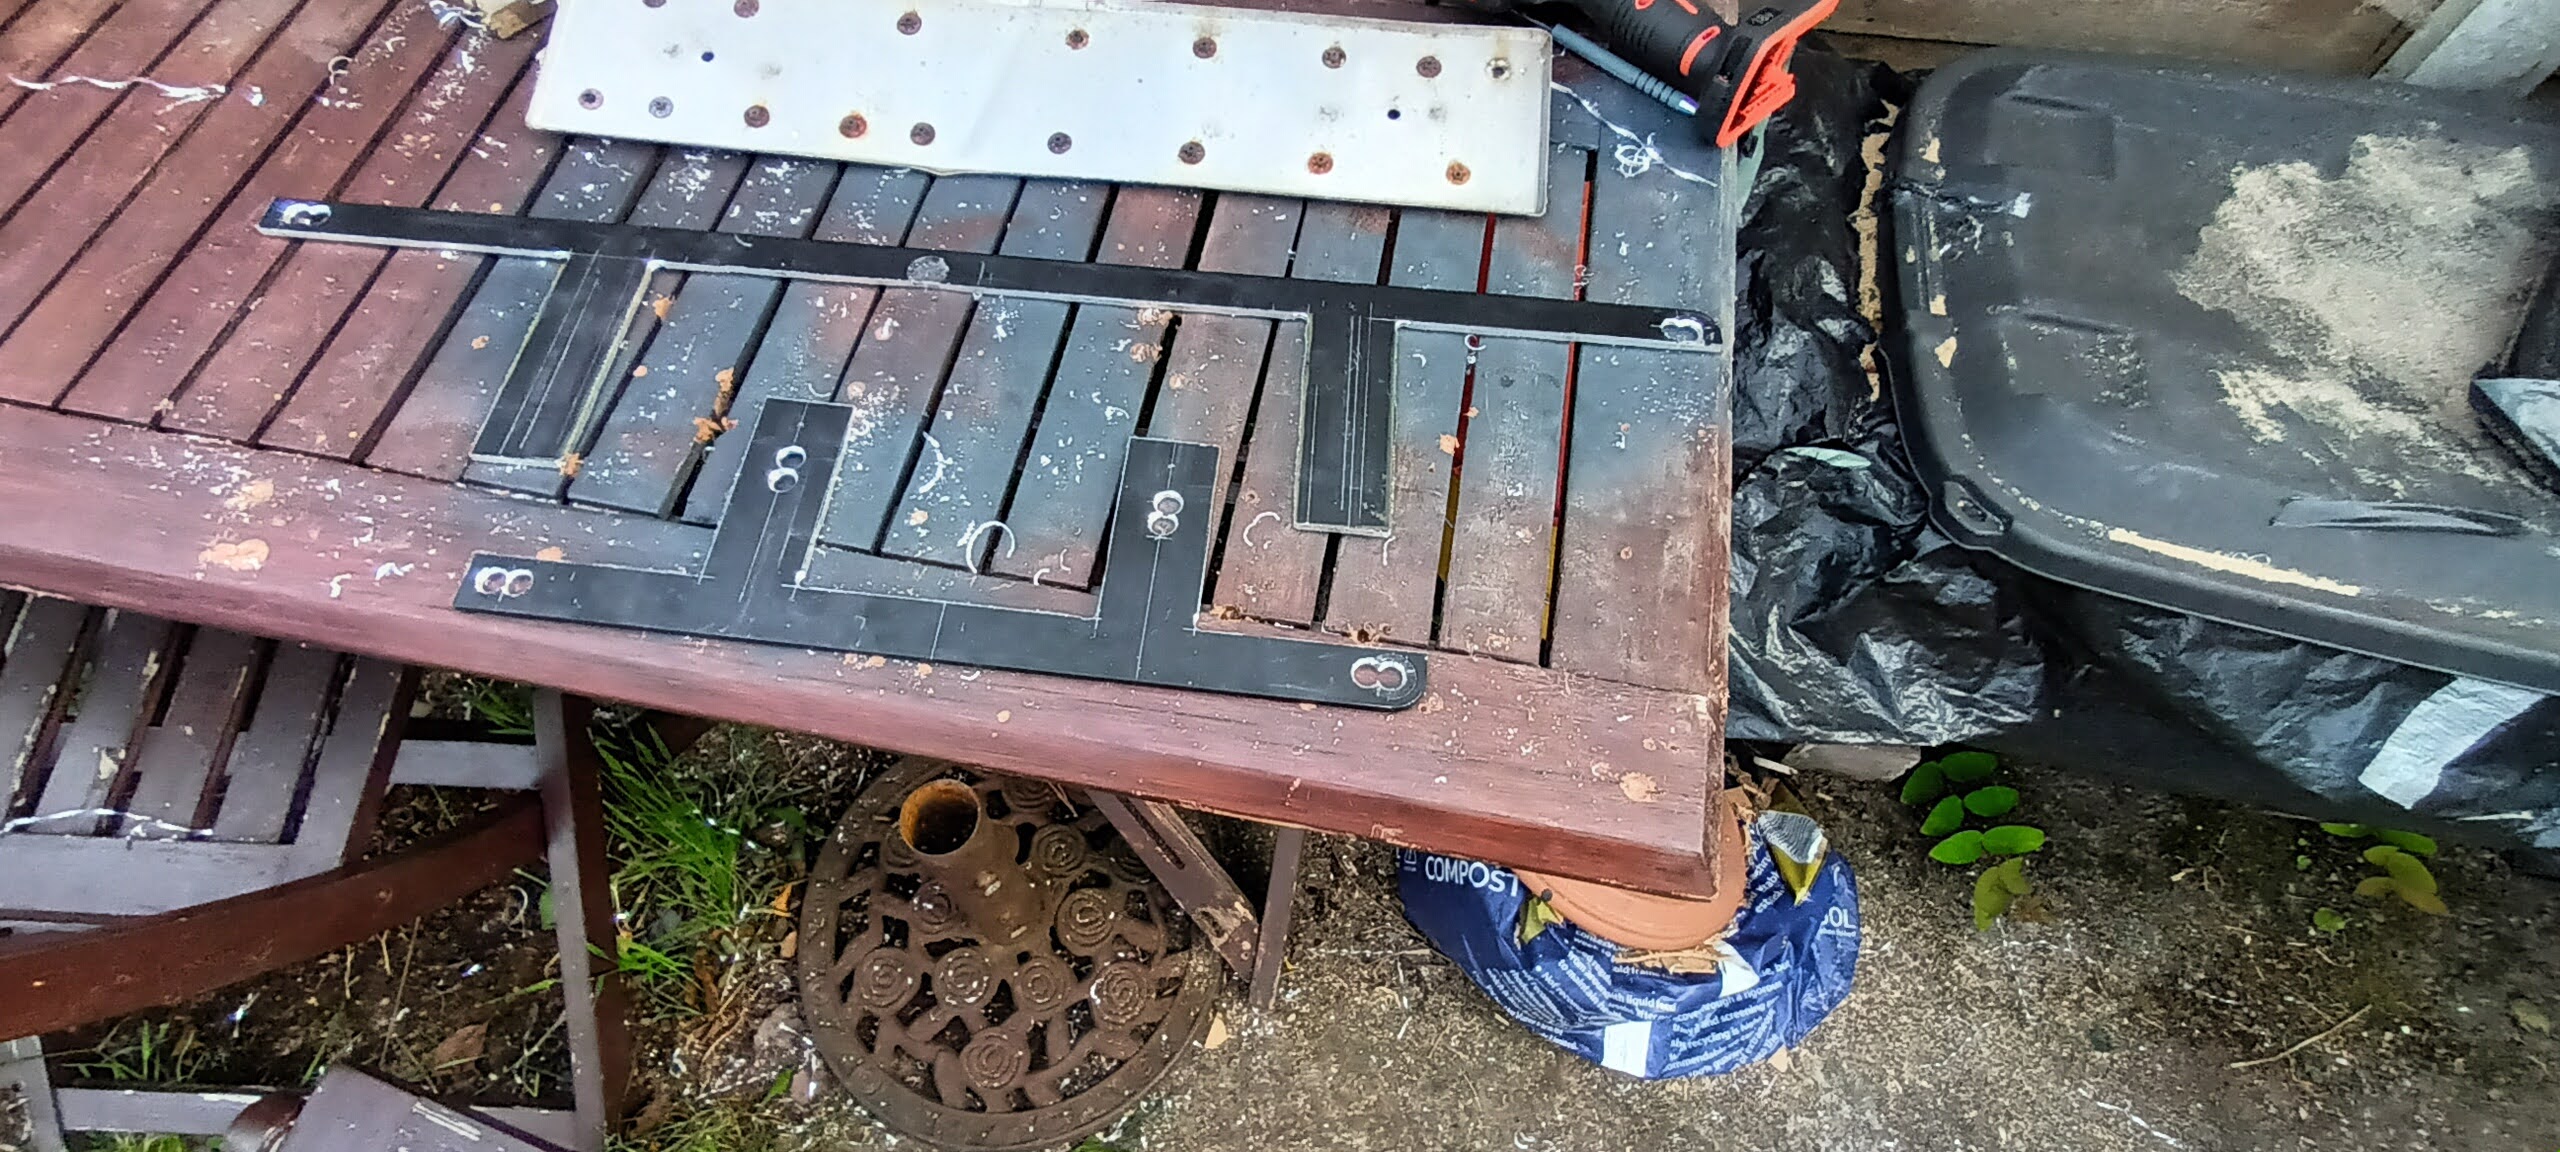
I also had another go at making a rear cant rail covering from fibreglass ( not paper-mache ) the last attempt at doing this in fibre glass was a disaster. It kept falling off, on me and getting everywhere. This time I bought a sheet of woven fine sheet. Covered the rail in Vaseline and it worked well. The first lay up saw the resin set in about 6 minutes, well it was very hot. The second was better but maybe not enough hardener so I left it at that for now, remembering my main focus, get it roadworthy.

So I arranged classic car insurance through Hagerty, £60 quid. Not bad I thought.

Next up was fit the screen wash motor, tubes and spray nozzle. Test fit shows it all works, but fitting the nozzle is a right faff and fiddle. It's right up under the dash behind the wiper motor flex cable and up against the firewall edge. Since the day was red hot I left it loose since it'll need to come off so I can get a socket on to tighten it up, then fit the tube, another faff. I'm not sure wether to buy new wiper blades or carry on hunting for new rubber only. Halfords have nothing like them in stock so the hunt continues.


Above is the ST spoiler covered once with a light coat Rover metallic BRG. Is this the colour ? Possibly.


Here it is fitted after 2 coats, well 2 1/2 and bumper trail fitted.
The bumper rails are slightly uneven, is in one is bent back slightly more than the other and I don't have the correct bolts. I think bending the bracket is going to be a puzzle, since I don't  have a vice or heat source. Wish me luck on that one.


Happy note. Me and great nephew Luca enjoying the car in the sunshine.


Sad note. We had to say goodbye to Ruby after 16 years. She will be missed.


Today saw me visit the Post Office with form V112 ( mot exemption ) and  V5C ( for tax exemption ).

.. how would you like to pay sir ? The lady was adamant it was to cost £325...

Me... Not at all. You must be wrong. It doesn't cost anything

Miss jobsworth... Well that's not what my screen says.

Me...  go back a few pages on your screen, somethings not been entered properly.

MJ...  I don't make the rules, that's how much it costs.

Me...   How can tax exemption cost £325............ it is free ! As in, exempt from tax.

Me...   Coming all over Arnie Schwartzenegger, I'll be back.

After a coffee nearby and a quick scan of DVLA website back I went.

I went to next assistant to MJ ( who was cashing up her till to go home) a calm and assured chap who asked me to write " Historic" on V5C form and sign it.

It will take a few days to come through with a new V5C to your address with the new classification. Here is you receipt for £ 0.00. Keep it as it proves the new classification has changed and is taxed even though it's free. You must do the same next year, but you will get a reminder by text and post.

Me...   thanks nice chap with a smile and MJ with a smug smirk and a don't f*** with Arnie look.

So there it is......... legal to go on the road, probably. 

Still lots to do. Viz

 Buy new handbrake cable and fit.
Buy new reversing lamp lenses and test.
Buy seatbelts and fit.
Get wipers sorted.
Fit front chrome bumper, properly then machine polish to death.
Ditto rear.
Tighten up door window mechanisms.
Buy carpet and fit..........not strictly necessary though.
Fit door cards and waist rails, ditto ?

Then maybe, just maybe drive this year, 

More soon folks


Sunday, July 23, 2023

Several spanner's in the works.

 So June and July have proved to be a very frustrating month in more ways than one.

Let me explain, you knew I would.

 Engine and fuel leak 

After fitting of the ( clean and rust free inside ) tank I connected up the hoses again under the rear wheel. Devil of a job, fiddly awkward and tough. Connected engine bay fuel lines ( with a new filter) again another tough job as the fuel line ID changes sizes between scuttle and carb inlet.....who knows where as I've seen so many variants I'm past caring. I had to " slide " a fast moving drill bit into some ends in order to make them fit, but accomplished eventually.

Problem  1/.

Fuel leak gushing from overflows, both carbs. Wifey not happy at petrol smell everywhere. 

Smart thing to do...fit empty coke tin onto each overflow pipe. Car won't start !!!!!! Starts but runs rough !

Eventually find out PO home made immobiliser now is operative since the visit of Tony auto electrician.

Decide to take car onto cul de sac for test run, even though it runs as rough as a bears arse since I refurbished the carbs thinking coke tins will work a treat to catch the overflow.  Wrong, very very wrong.

Left a trail of fuel up, down, across, around and puddled at each stop and turn round, including the driveway.

Removed carbs.........again. Cleaned, reset floats, faffed with valves and needle. Fitted , checked fuel flow.

All seemed good except fuel flow still exiting via overflows. Ordered new float valves and left it at that as I was so pissed off with it all.


Decided to move on to Interior, namely the roof lining and Webasto inner lining ( or should I say the lack of it ) purchased a roll of Black Alcantara type stuff from the end of roll bargains that I calculated would just do the job.

I first made a template of the roof from corrugated cardboard. This was only a rough template as it was a bit " bendy" in one direction. Transferred it to hardboard and trimmed to fit. That was easy to type but it took about 10 days on and off to get it to fit. I decided to make it in two halves  ( front and rear) as the Webasto hole is so big the sides are thin and weak. It was fiddly and back aching taking in and out as well as getting the alignment central. That was just the hardboard, it was going to be even tougher with the fabric mostly glued on and tucked up under the cant rails.


Up to now all I've done is carefully, and I mean carefully glue down the fabric to each half with some overlap. It's resting in the shed whilst I got on with cleaning and spraying the inner  cream coloured vinyl a lovely satin Black. Also did the sun visors and rear view mirror too. Whilst seeking out said parts from shed I also found the green tinted wind deflector for the Webasto......result. No mounting blocks though.

Sunroof lining.

This was a real puzzle as I had no idea how it is fitted, how it was tensioned and how to make it look good. I had just enough of the material to cover the large area with a small length to fit over the  front cover cant rail. More photos on this to follow.


More on this later as I'm still a few weeks behind with the blog due to holidays, scaffolding round the house, bowls and wifeys Hip Op. So at some point there will be a lull as I'll be a house husband and it's raining non stop for the next few weeks, but lots more to show and tell till then.